
25 Snowy Christmas Pathway with Illuminated Trees
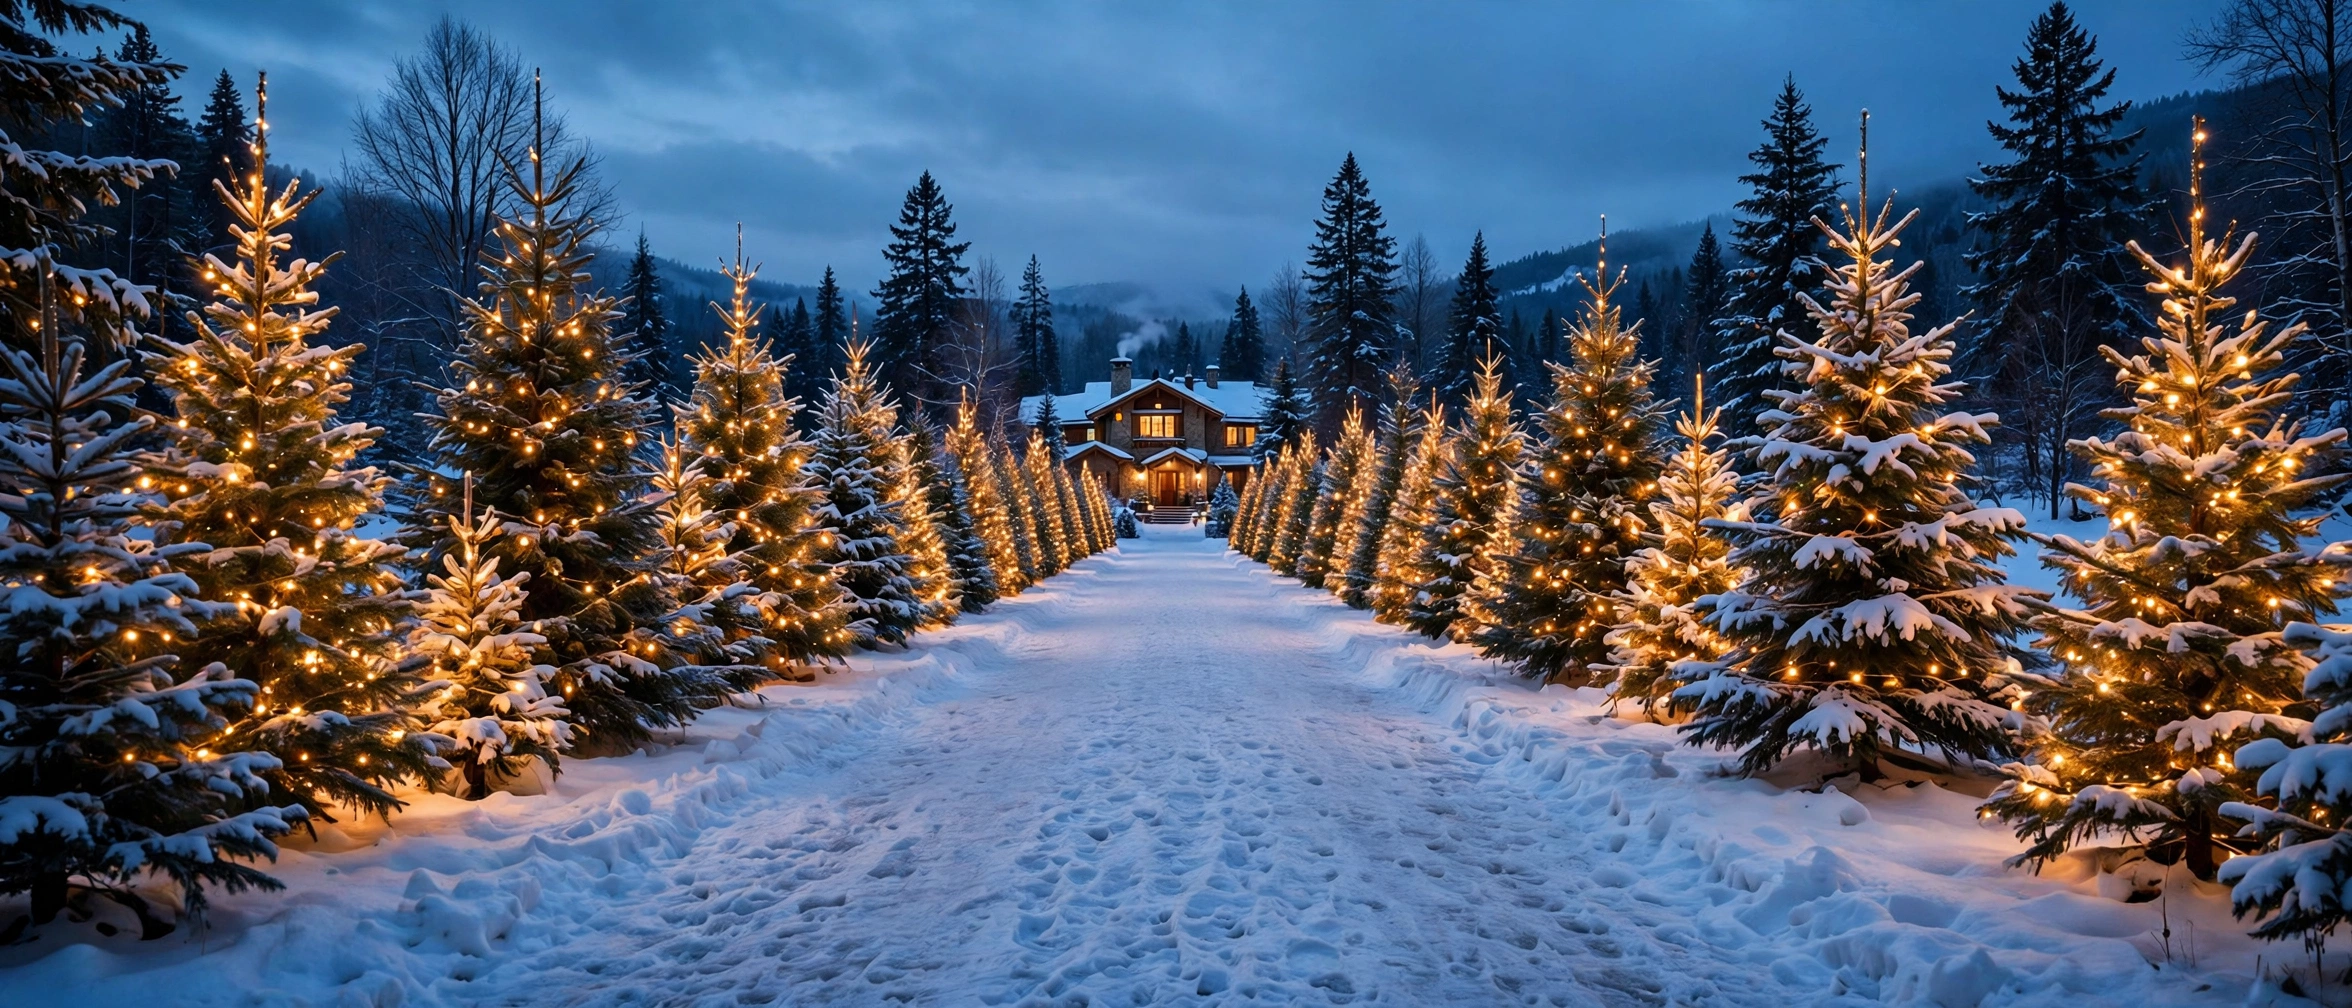
A snowy Christmas pathway with illuminated trees is made for homeowners who want their winter garden to feel magical the moment guests arrive. With glowing trees, sparkling snow, and a softly lit walk, the path to the door becomes a magical winter walk that feels straight out of a storybook.
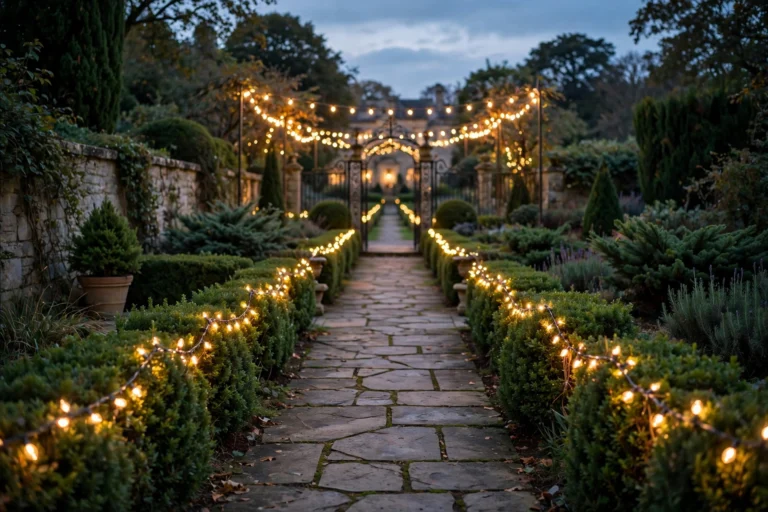
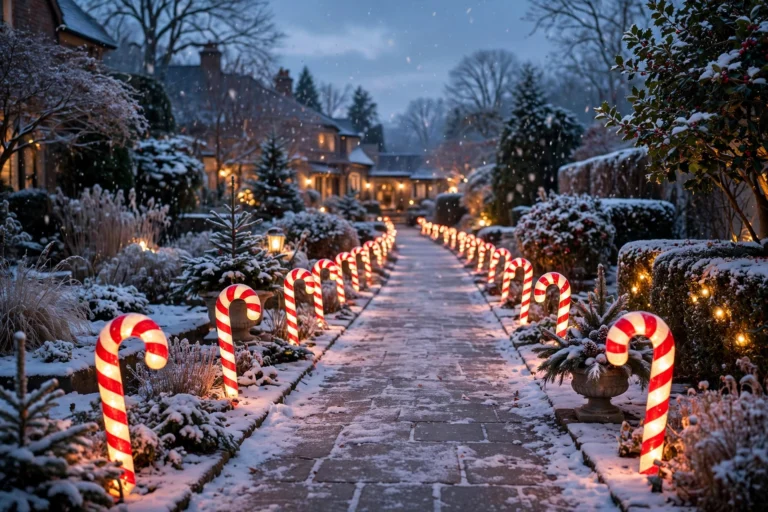
The secret is layering light at different heights, from wrapped trunks to glowing canopies, so the whole pathway shines even on the darkest December evening. For a brighter, playful take, see Magical Christmas Pathway with Glowing Candy Cane Lights, and for a softer, classic look, explore Elegant Christmas Garden Pathway with Warm White Lights. The twenty-five ideas below will help you build a glowing snowy pathway of your own.
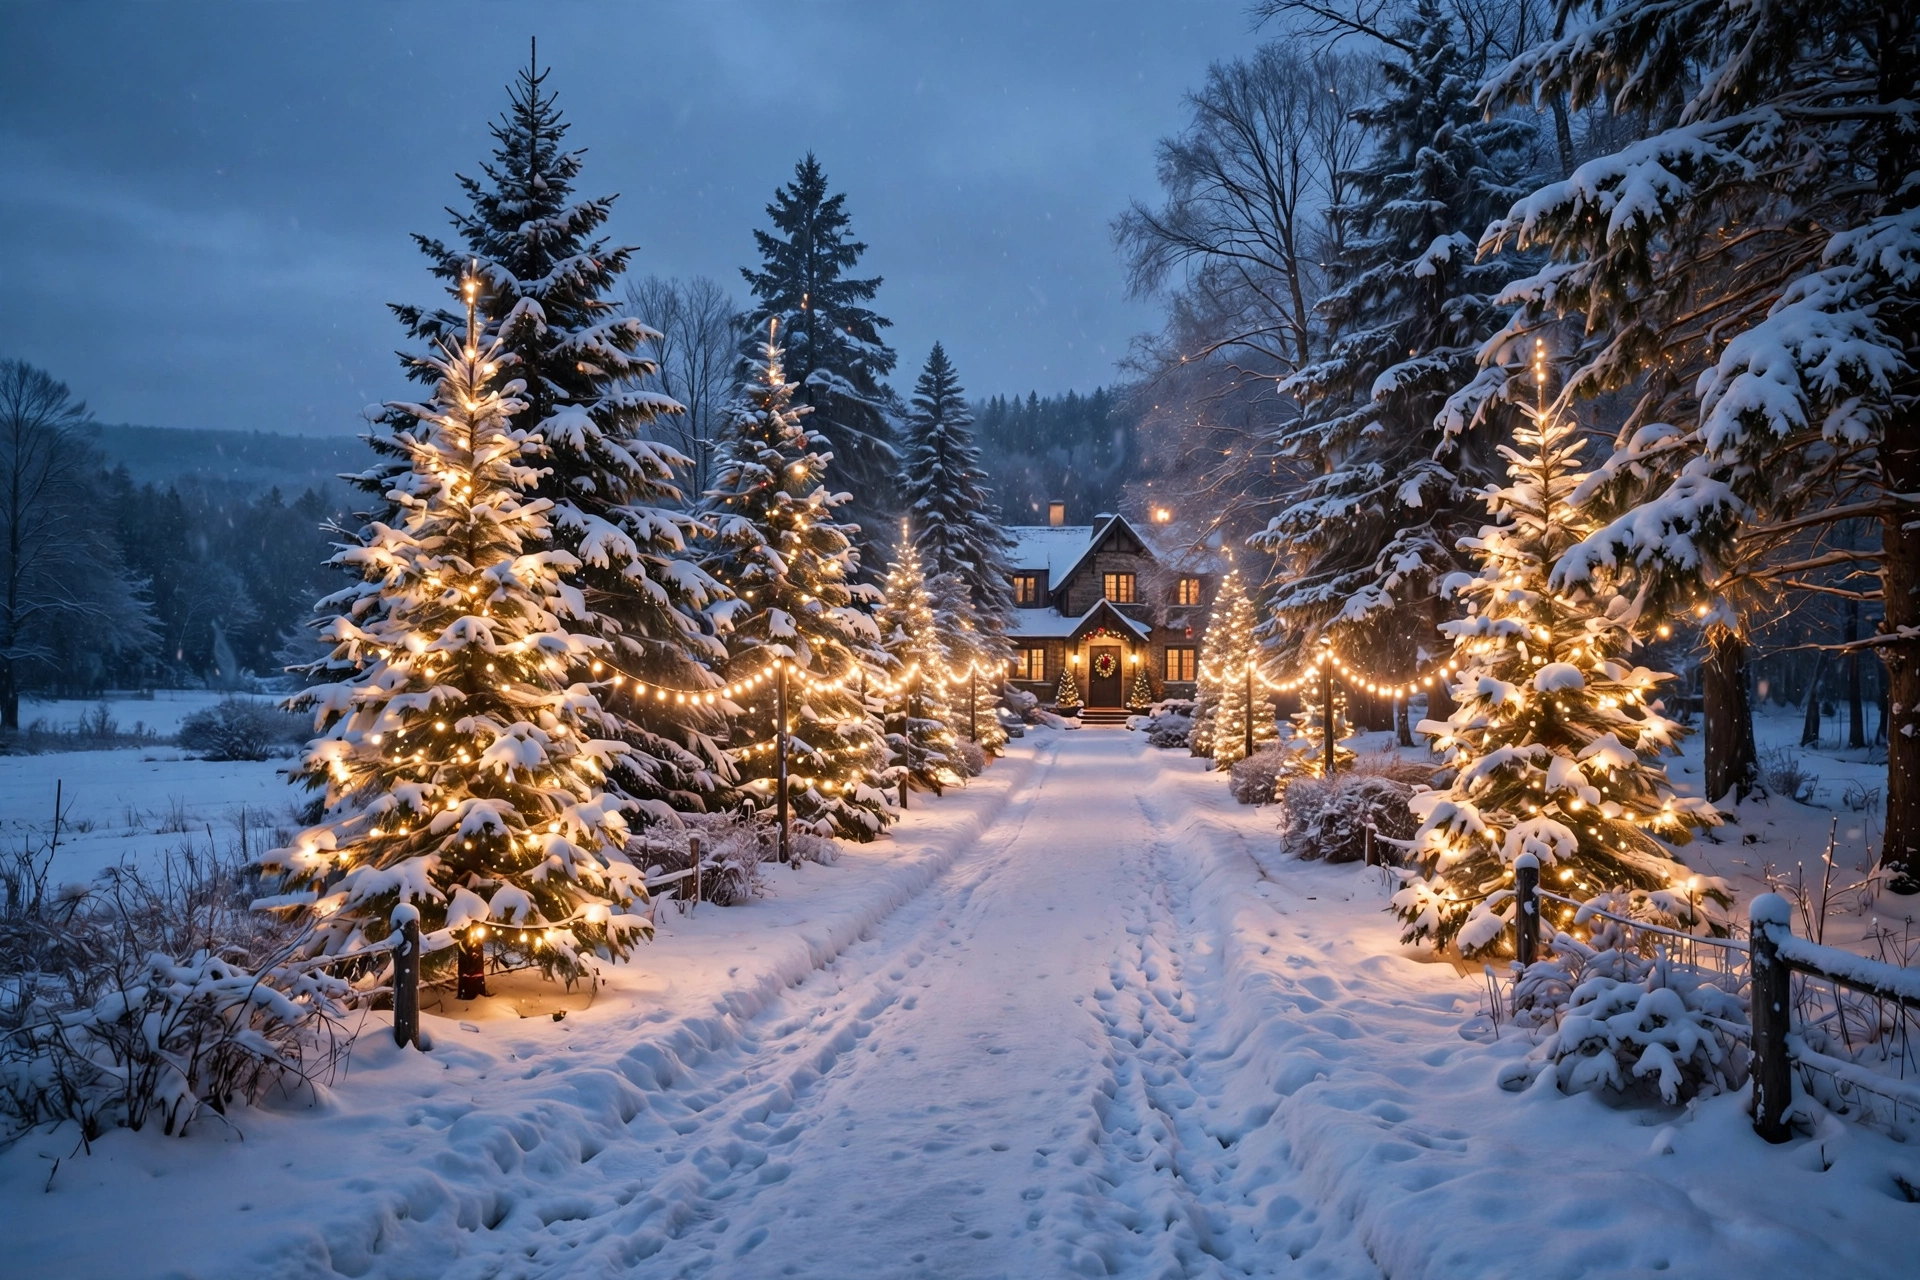
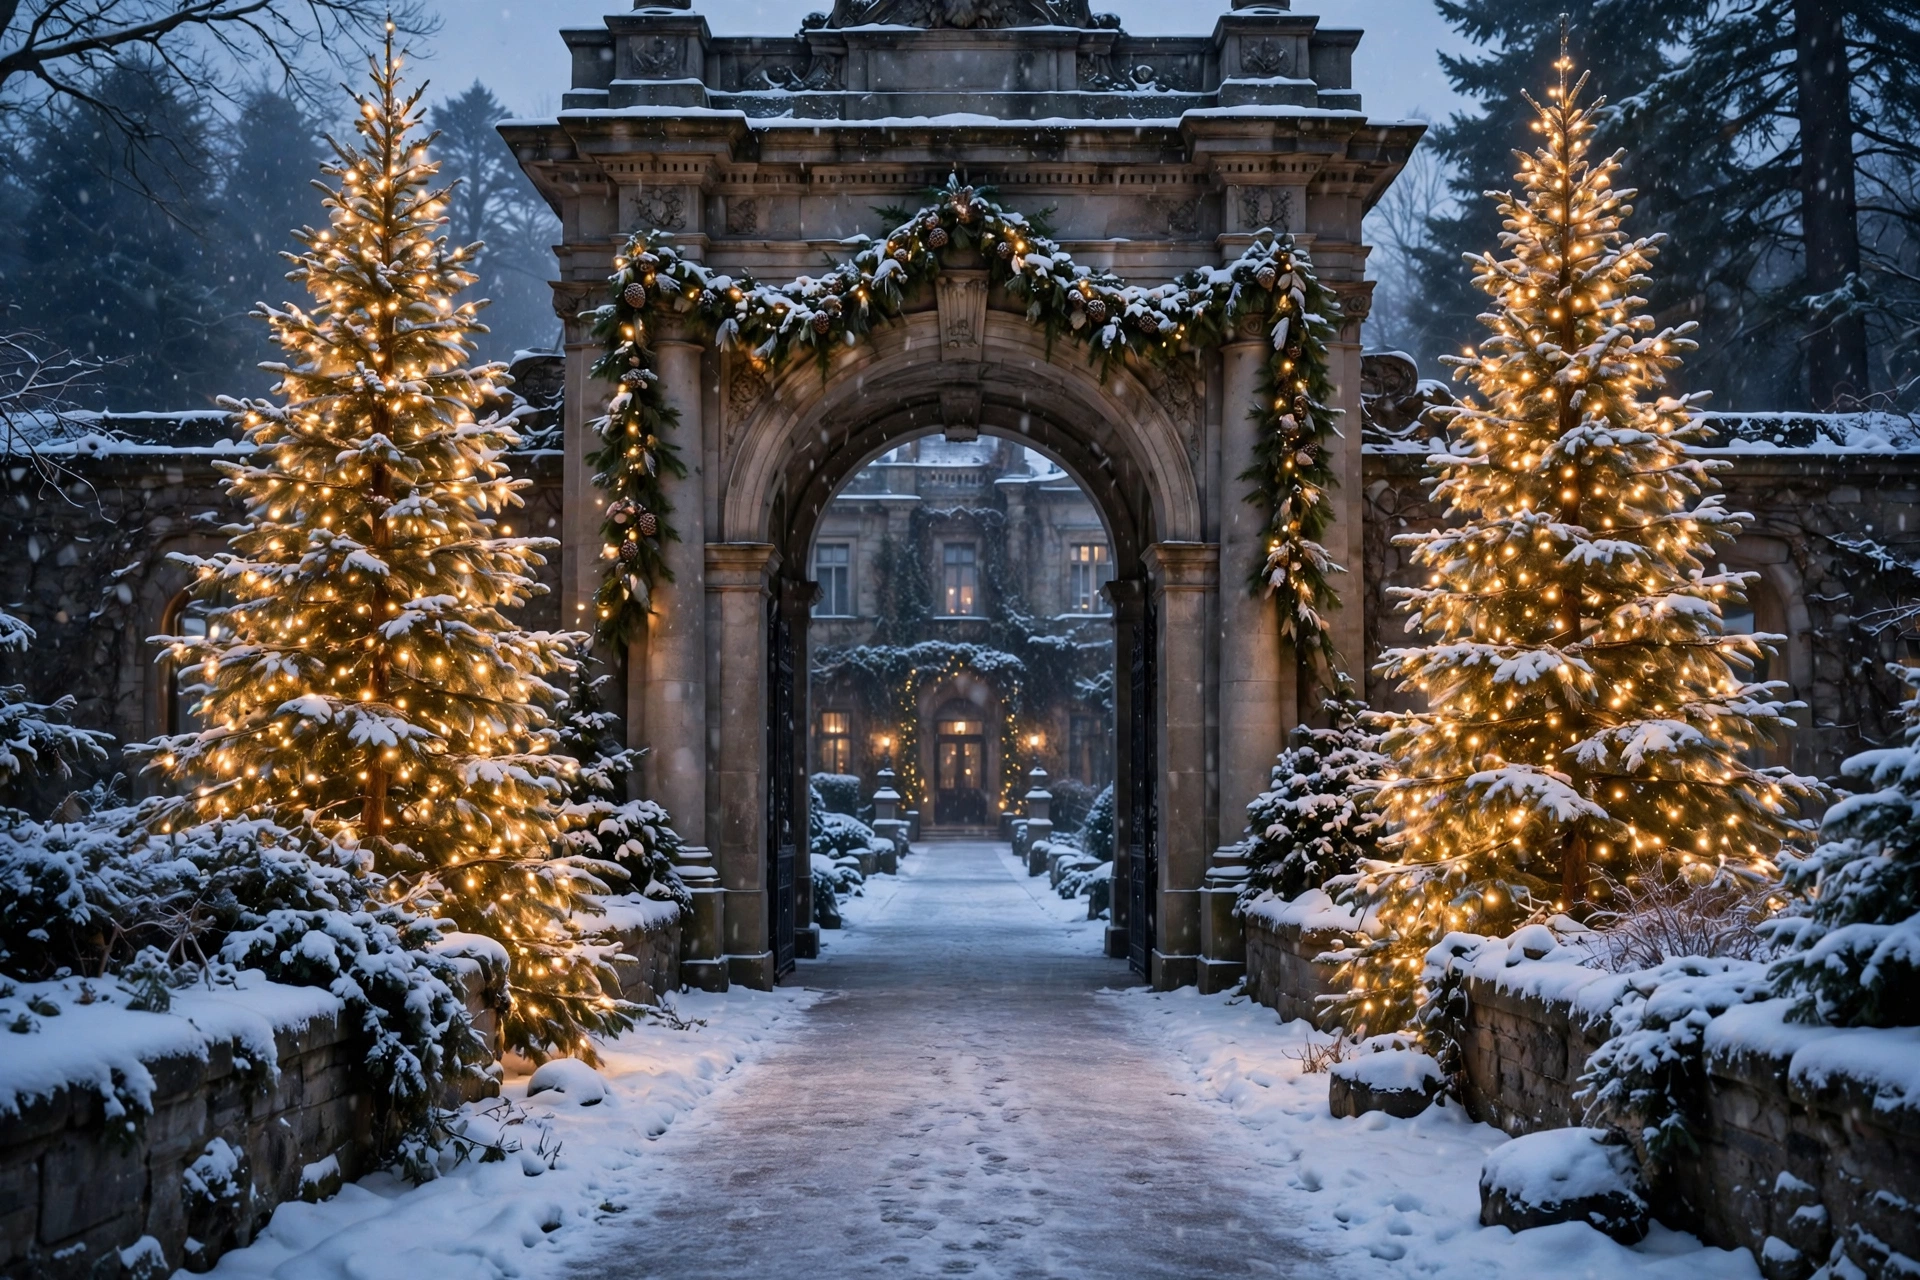
1. Grand Entrance in a Snowy Christmas Pathway with Illuminated Trees
A grand entrance starts with two matching evergreens, each at least six feet tall, flanking the start of the path and wrapped in 200 warm-white lights apiece. Space them about eight feet apart so the walkway feels open, and anchor them in heavy planters weighted with at least 20 pounds of stone so winter wind cannot topple them.
Avoid the common mistake of placing the entrance trees too close to the path, where low branches brush guests’ coats. Trim the lowest branches to four feet high, and the entrance will frame the walk beautifully without blocking it.
2. Wrapped Trunks Glowing Warm White
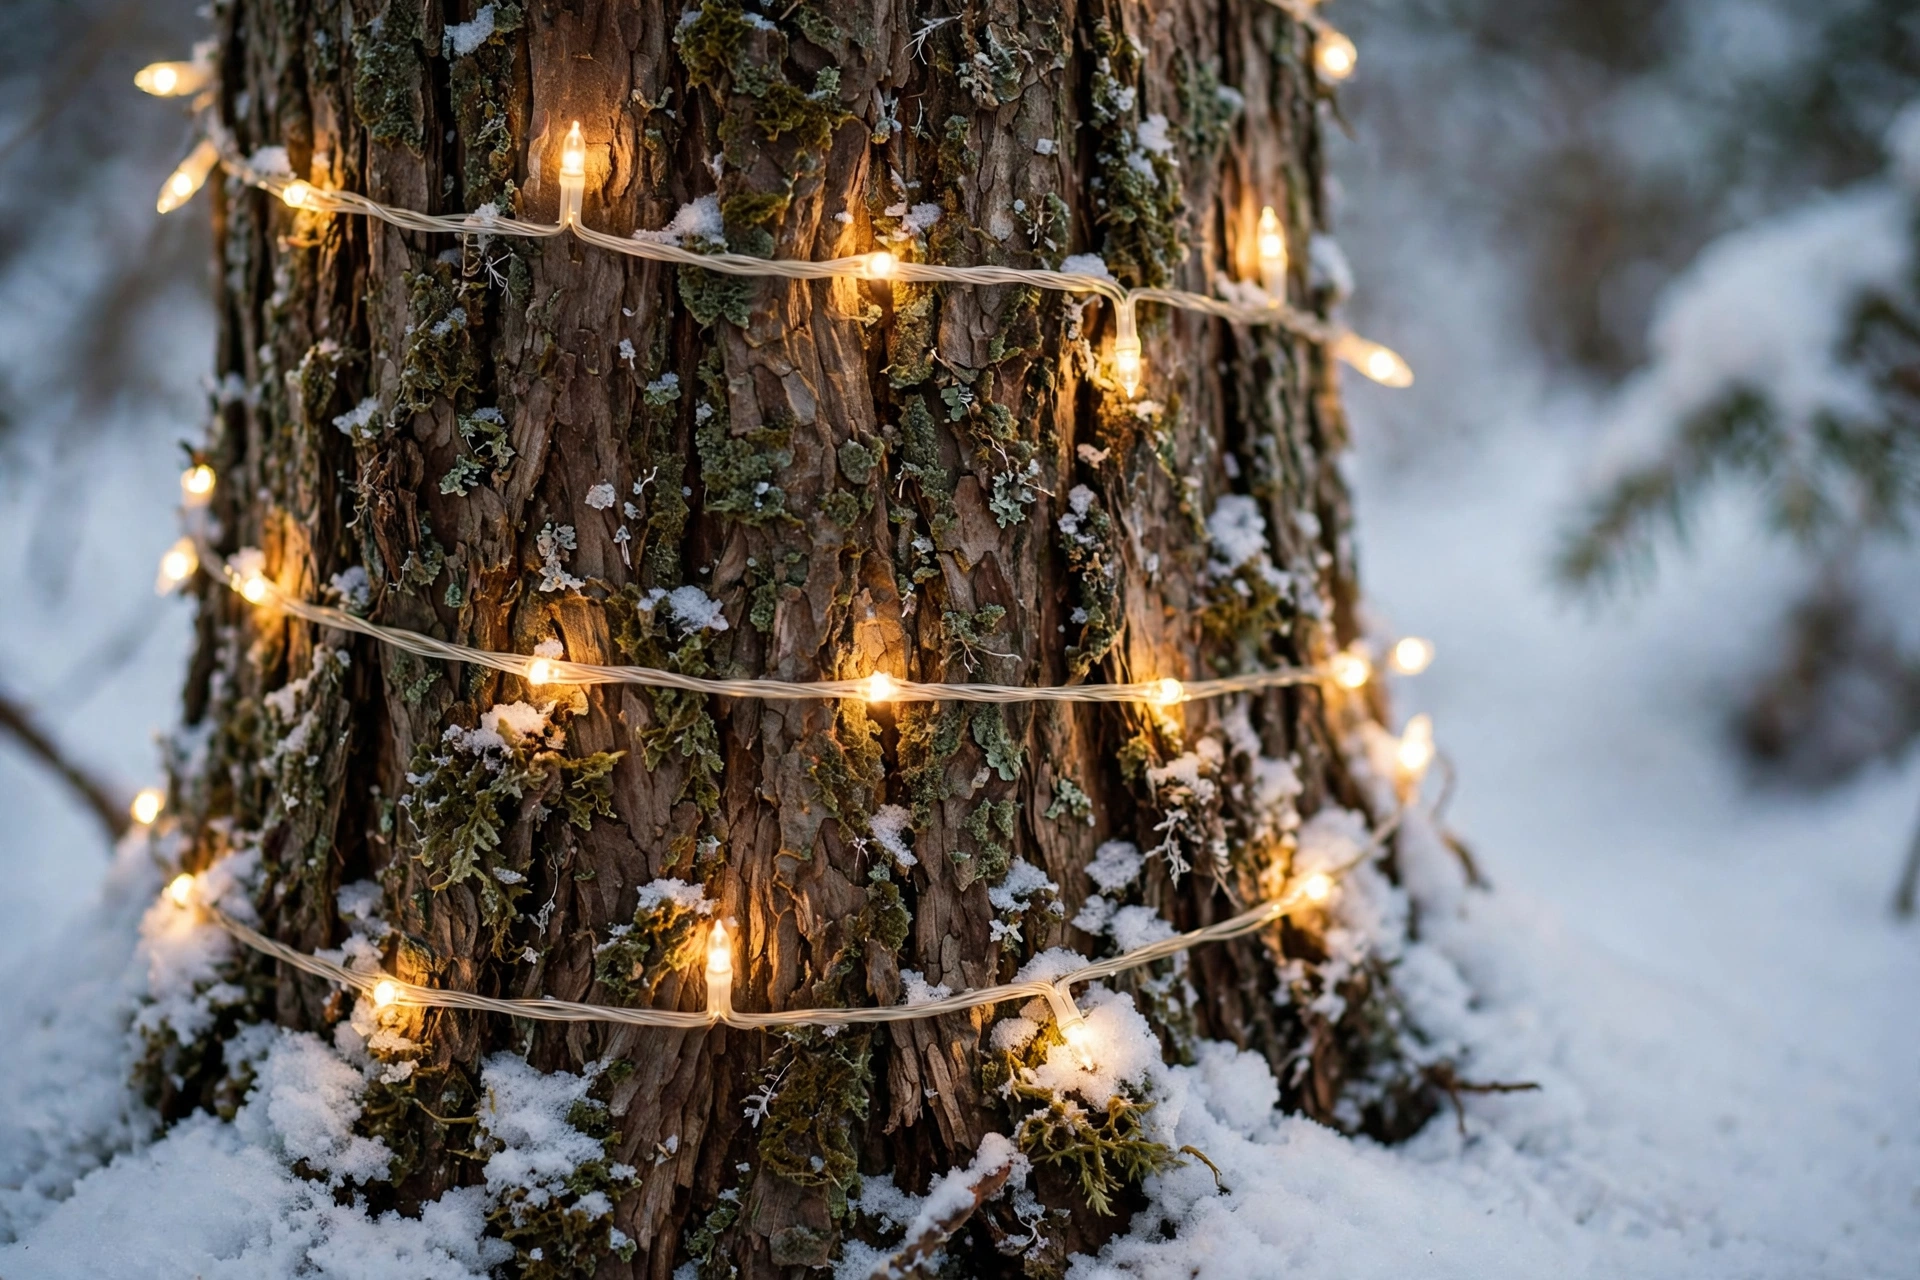
Wrapping trunks in warm-white string lights gives bare winter trees a soft, golden glow from the ground up. Wind the lights in a tight spiral with gaps of about three inches, using one 100-light strand per six feet of trunk height, and start at the base so the cord stays hidden in the snow.
Secure each spiral with a plastic tree clip every twelve inches rather than tape, which fails in freezing weather. Warm-white bulbs around 2700K look far more inviting against snow than harsh cool-white ones.
3. Snow-Dusted Evergreen Archway
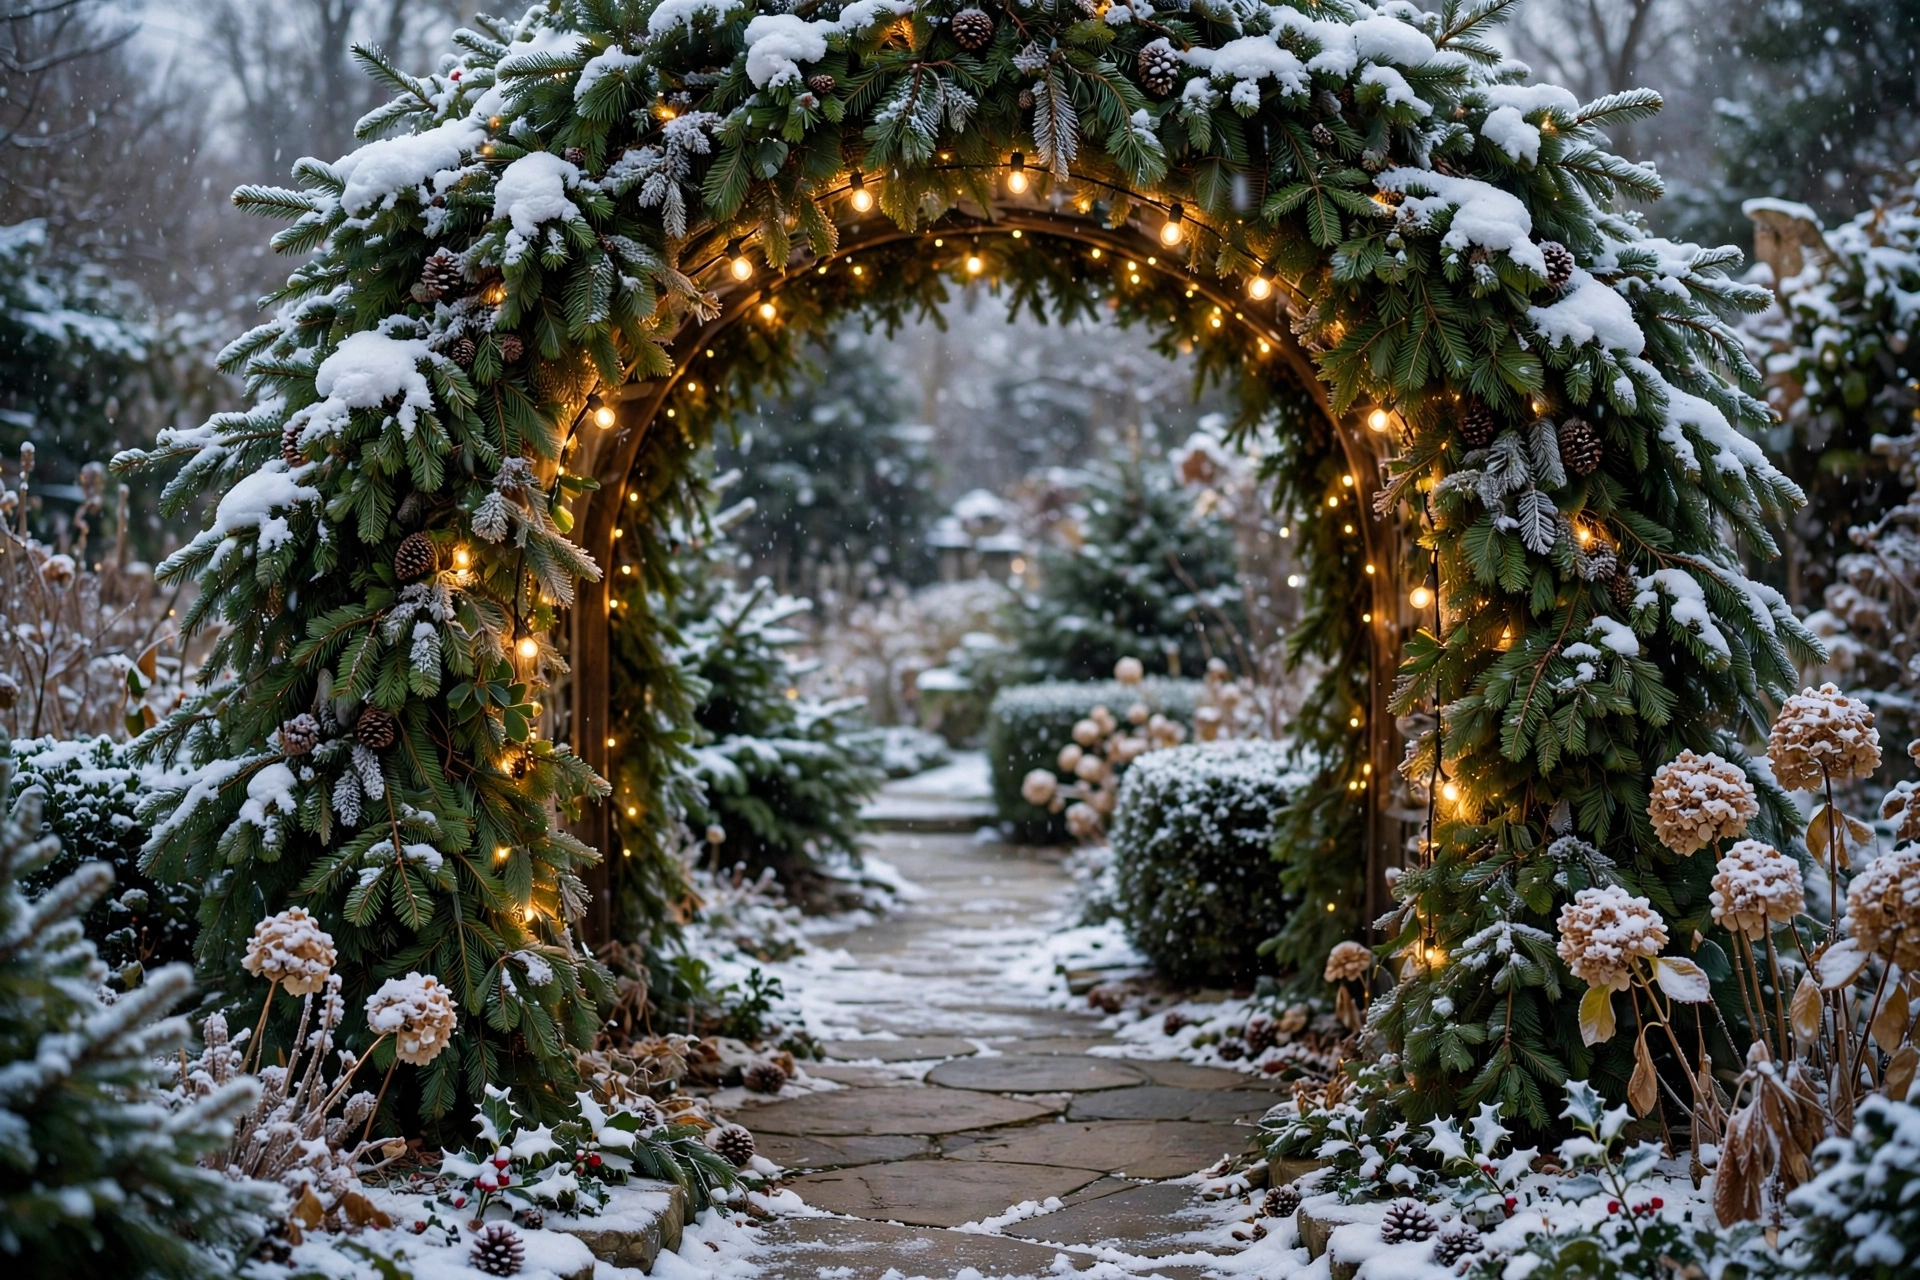
A snow-dusted evergreen archway turns the middle of the pathway into a moment of pure Christmas magic. Build the arch from two flexible evergreen garlands, each twelve feet long, bent over a sturdy metal frame at least seven feet high so tall guests pass comfortably beneath it.
Weave a 50-light strand through each garland and dust the branches lightly with artificial snow spray from about twelve inches away. A common mistake is overloading the arch, which sags under snow, so keep decorations to lights and a few pinecones only.
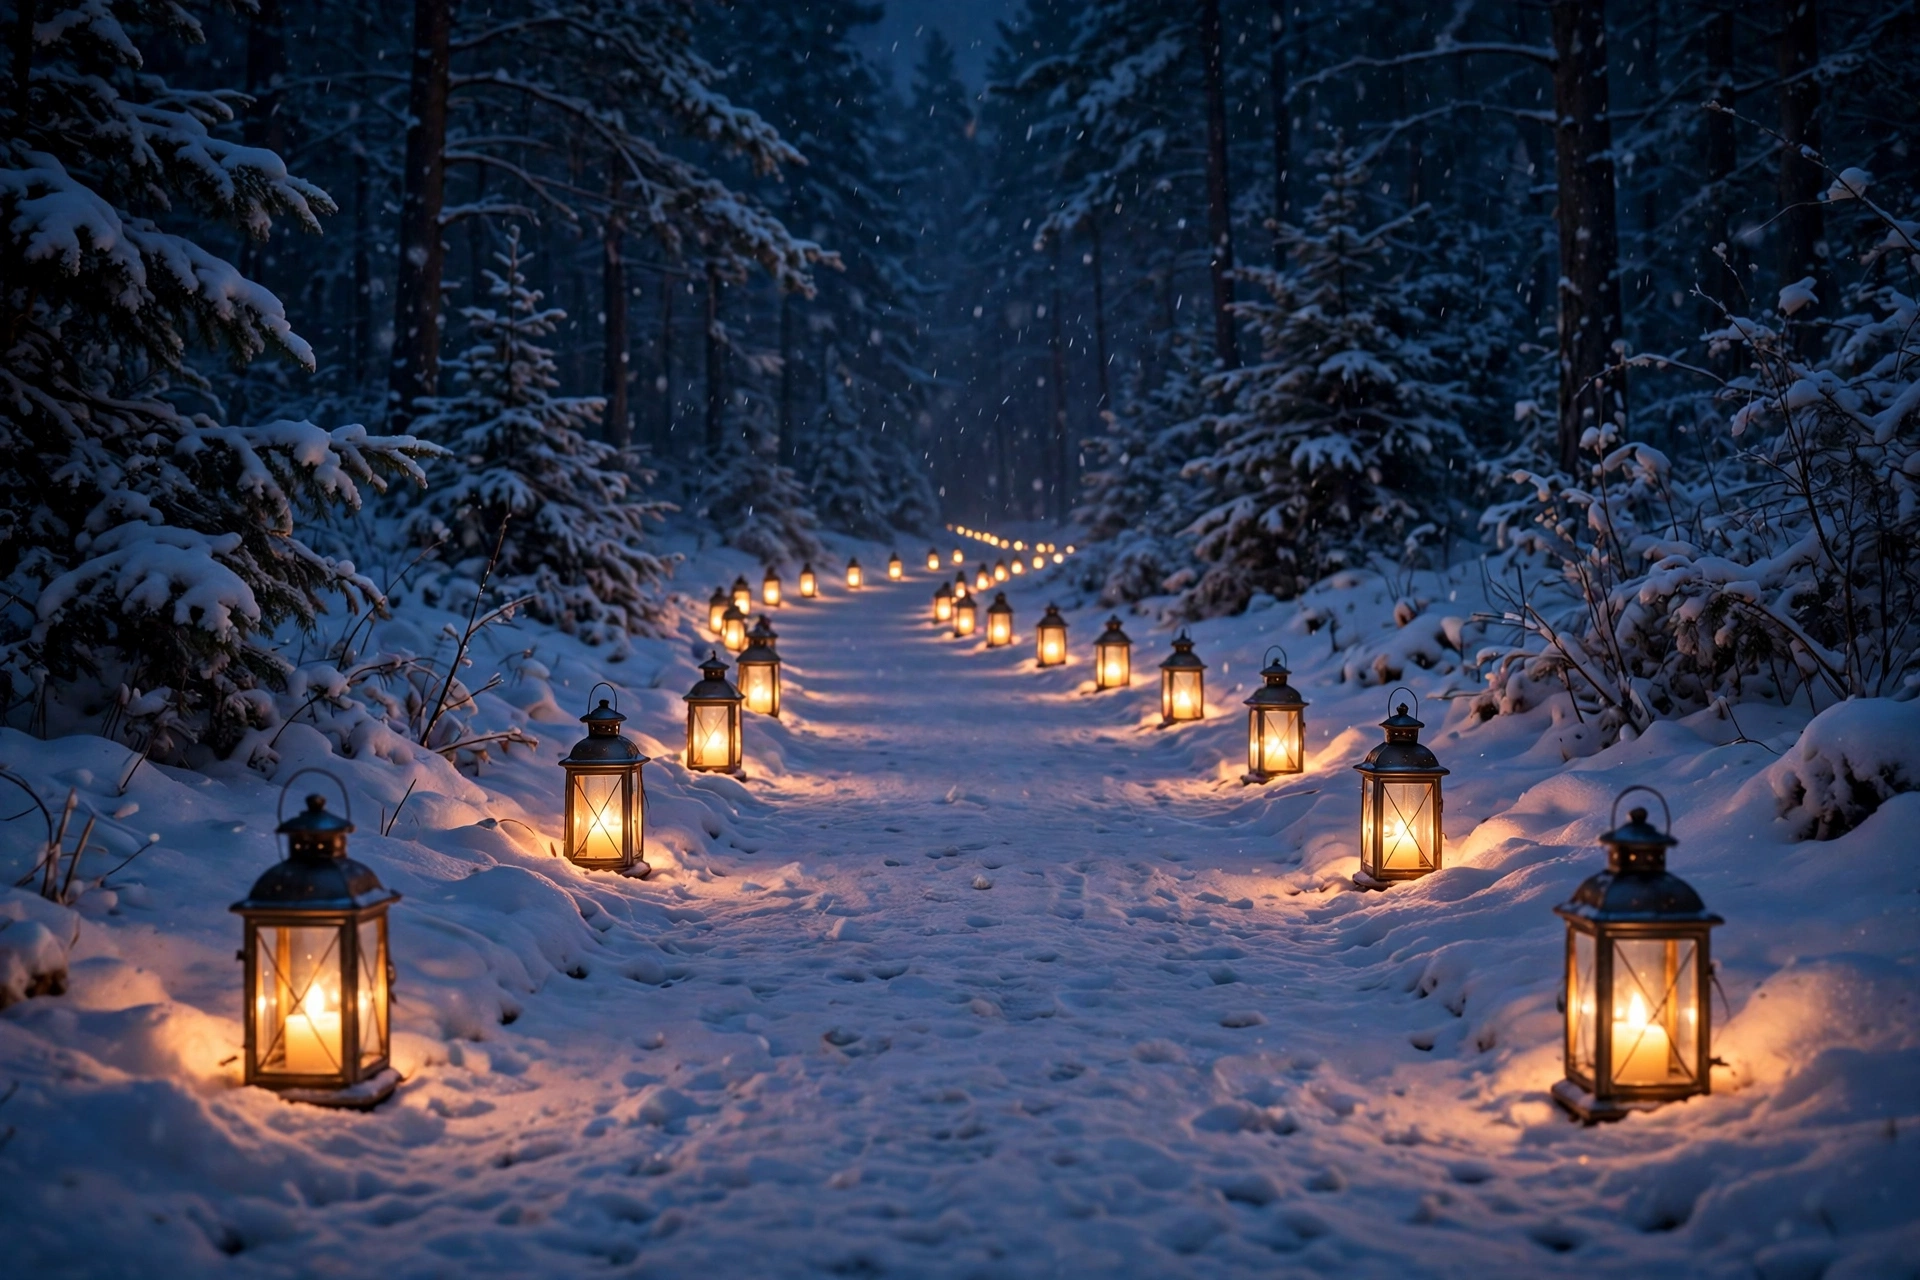
4. Lanterns Lining the Path Edges
Lanterns lining the path edges add a low, flickering glow that guides footsteps safely through the snow. Place one lantern every three feet on alternating sides, using battery-operated pillar candles inside so wind and wet snow cannot blow them out.
Choose lanterns at least twelve inches tall with glass panels and a weighted base, and set them on flat paving stones so they sit level. Avoid real flames outdoors in winter, since a gust can scatter sparks onto dry garlands.
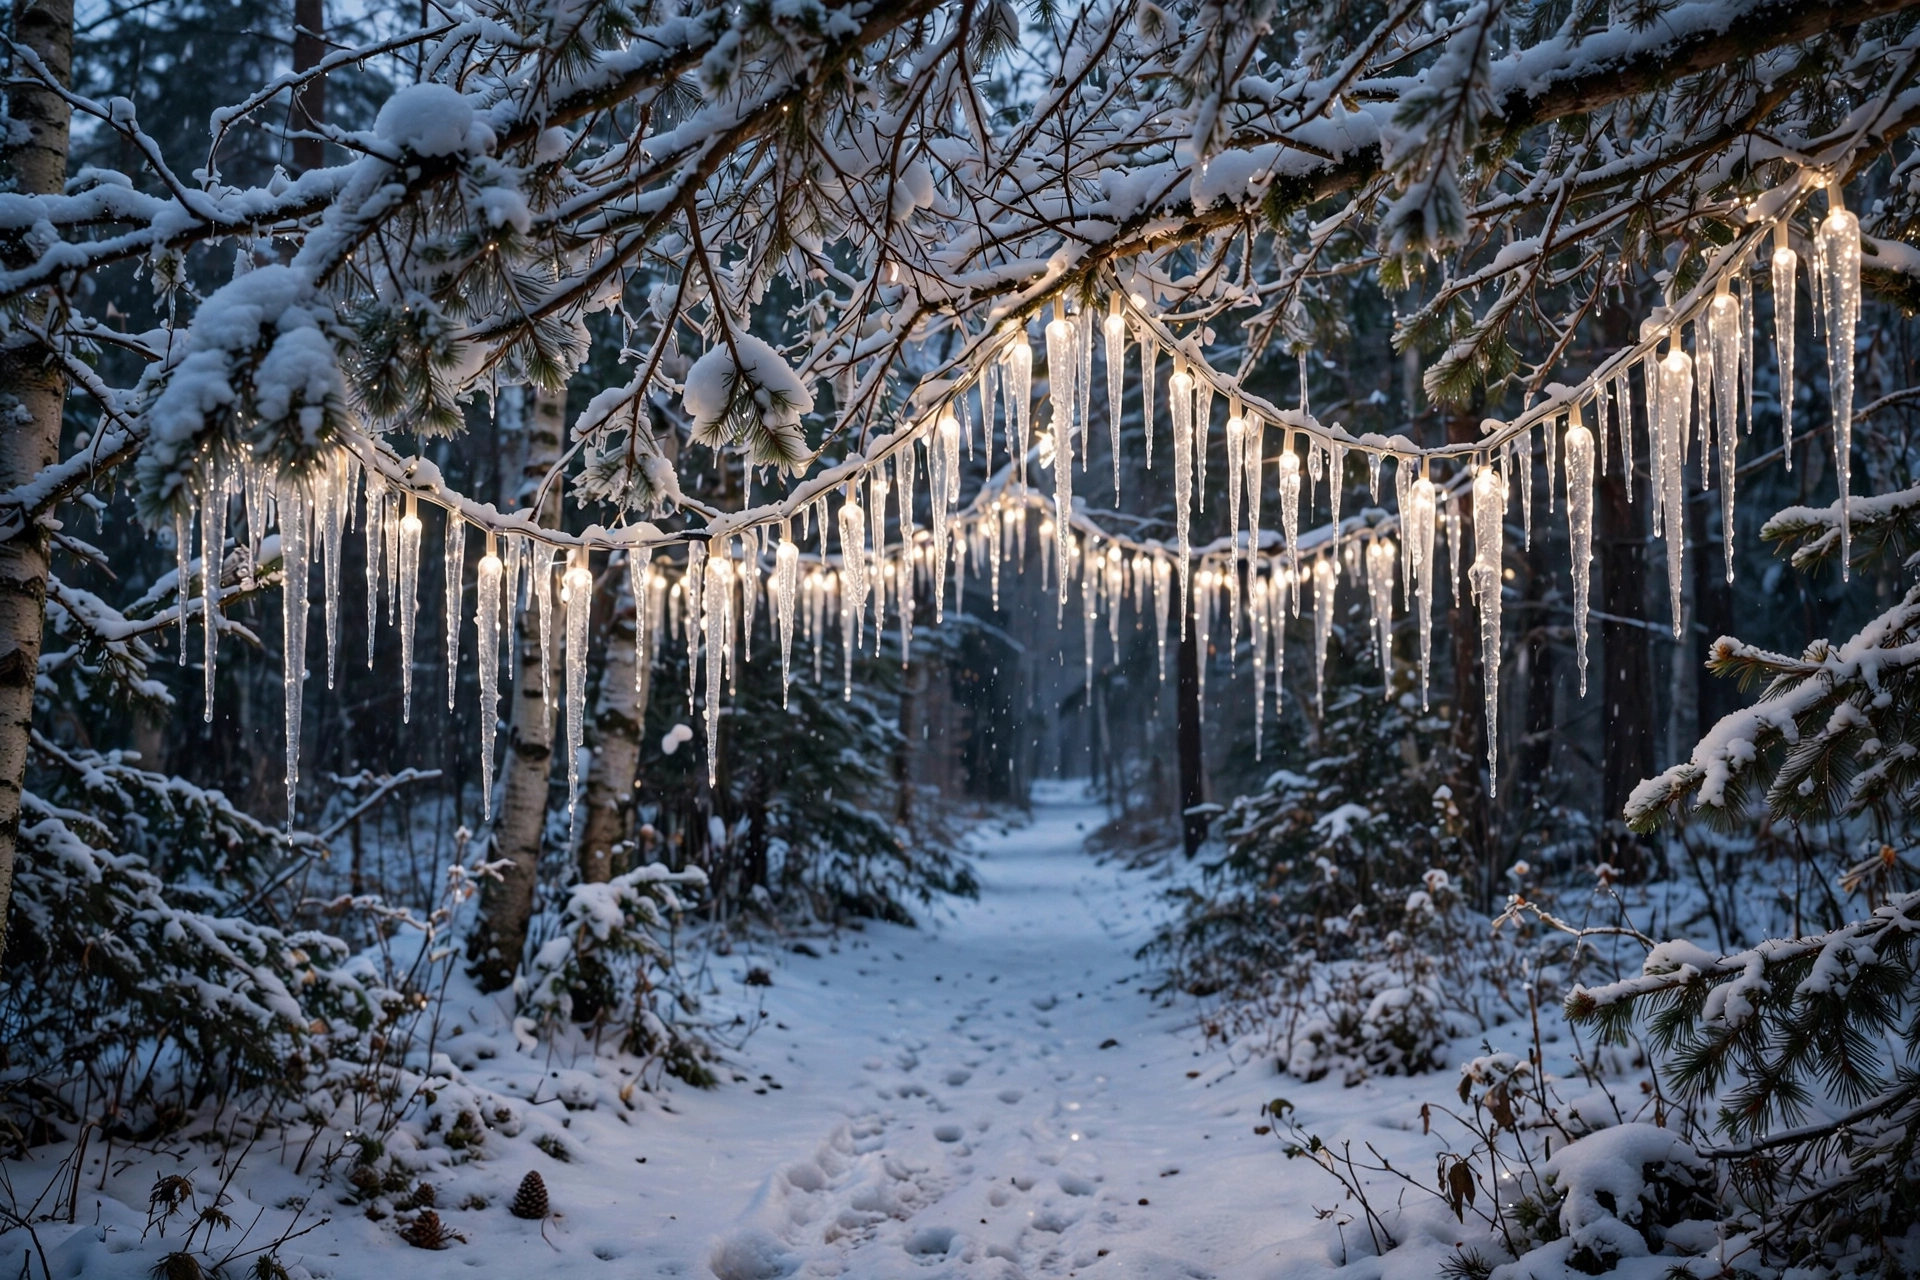
5. Icicle Lights Draped from Branches
Icicle lights draped from low branches create the look of frozen waterfalls above the pathway. Hang one strand per branch, letting the drops fall twelve to eighteen inches, and use outdoor-rated lights with a waterproof rating of IP44 or higher for snow and melting ice.
Keep the strands at least seven feet above the path so nobody catches them with a hat or umbrella. Never drape icicle lights over power lines or gutters, where ice buildup can pull them down.
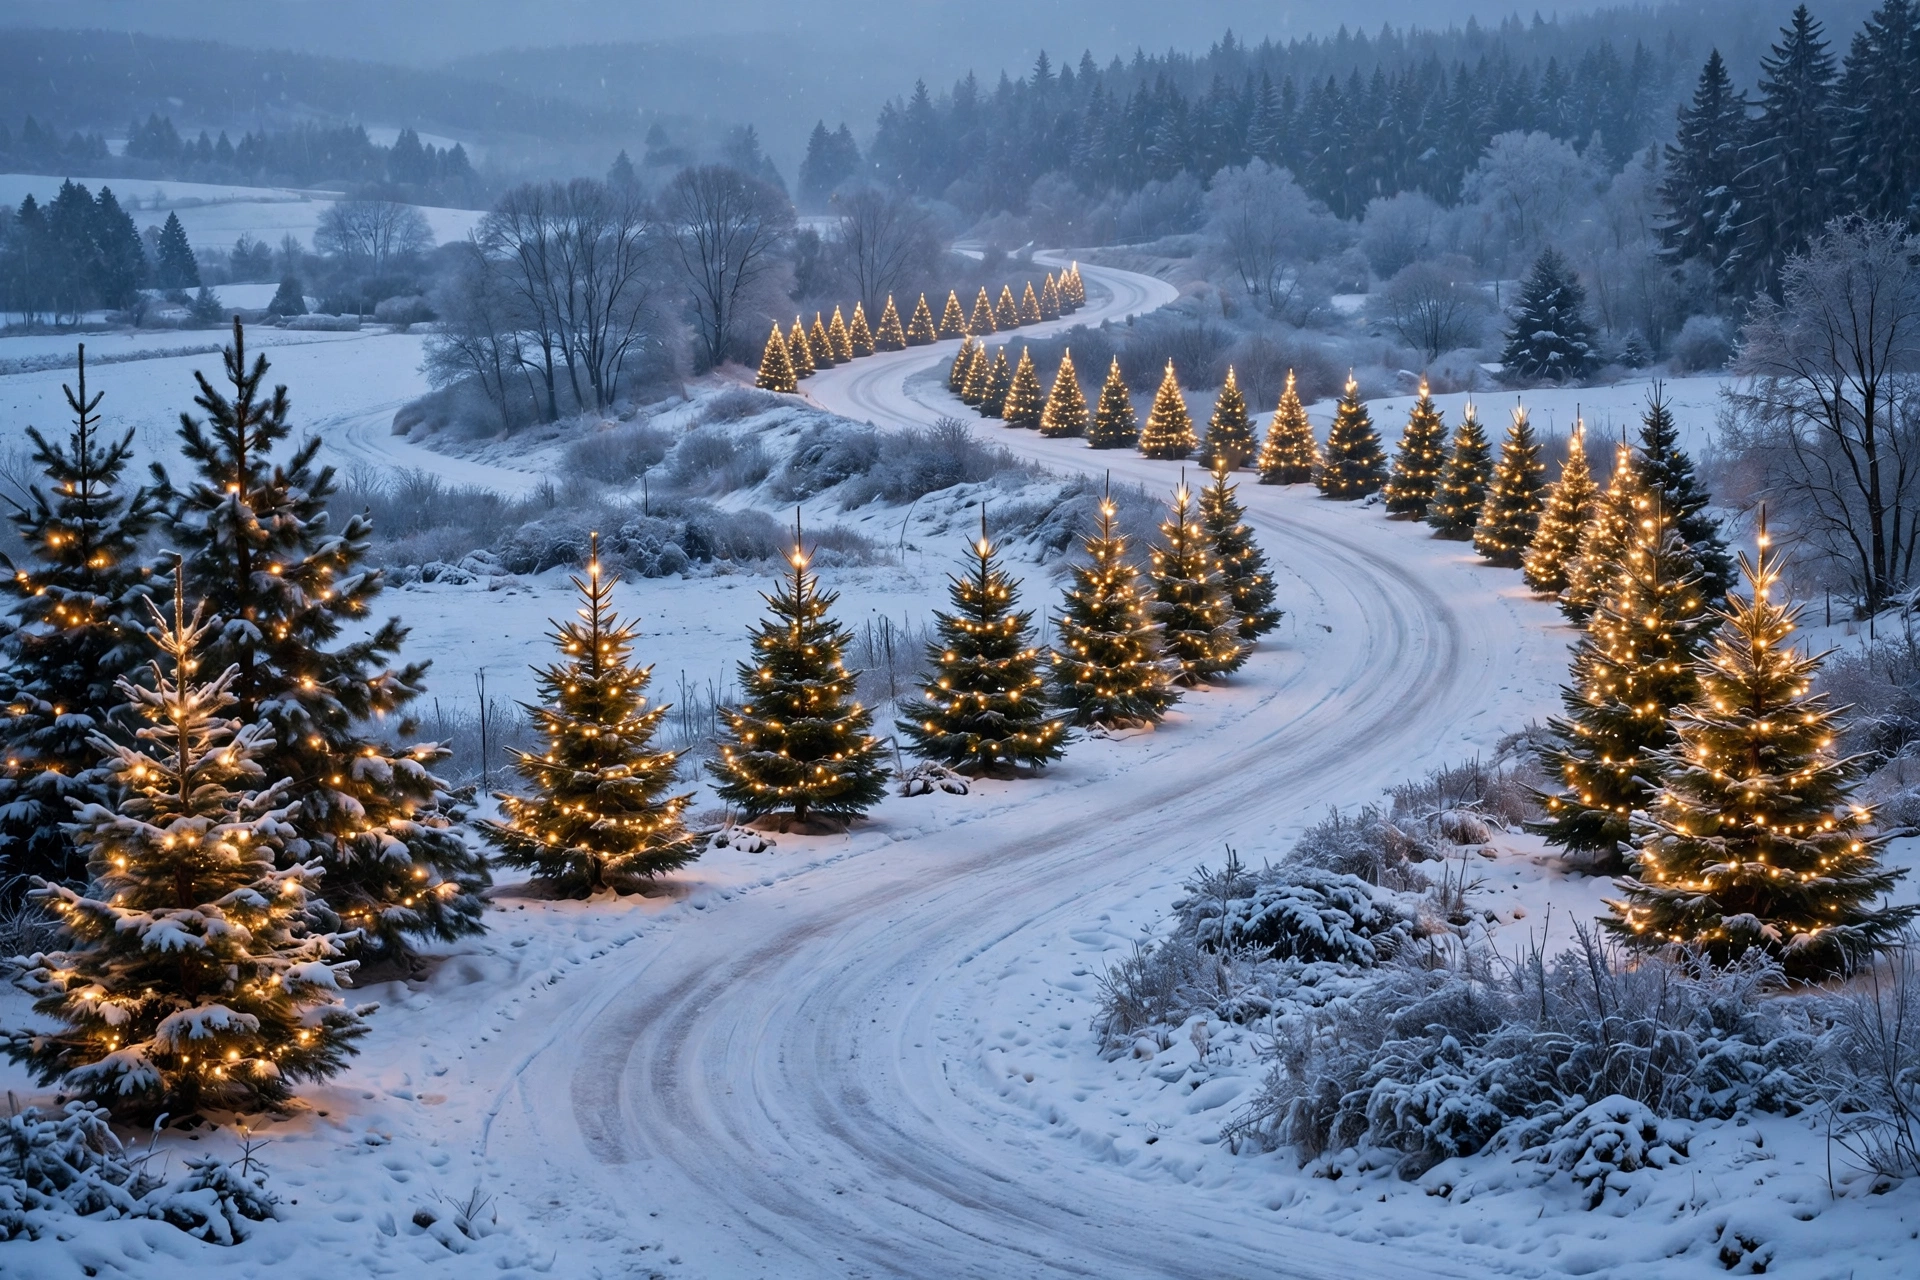
6. A Curving Walk Through Fresh Snow
A gently curving walk feels more magical than a straight one, because each bend reveals a new glowing tree. Shape the path at least four feet wide with a soft S-curve, and shovel it down to the paving before the first freeze so ice never builds up underneath.
Scatter a thin layer of pet-safe de-icer, about one cup per ten feet, rather than rock salt, which damages lawn edges and tree roots. A curved path also slows guests down, which is exactly what you want on a Christmas evening stroll.
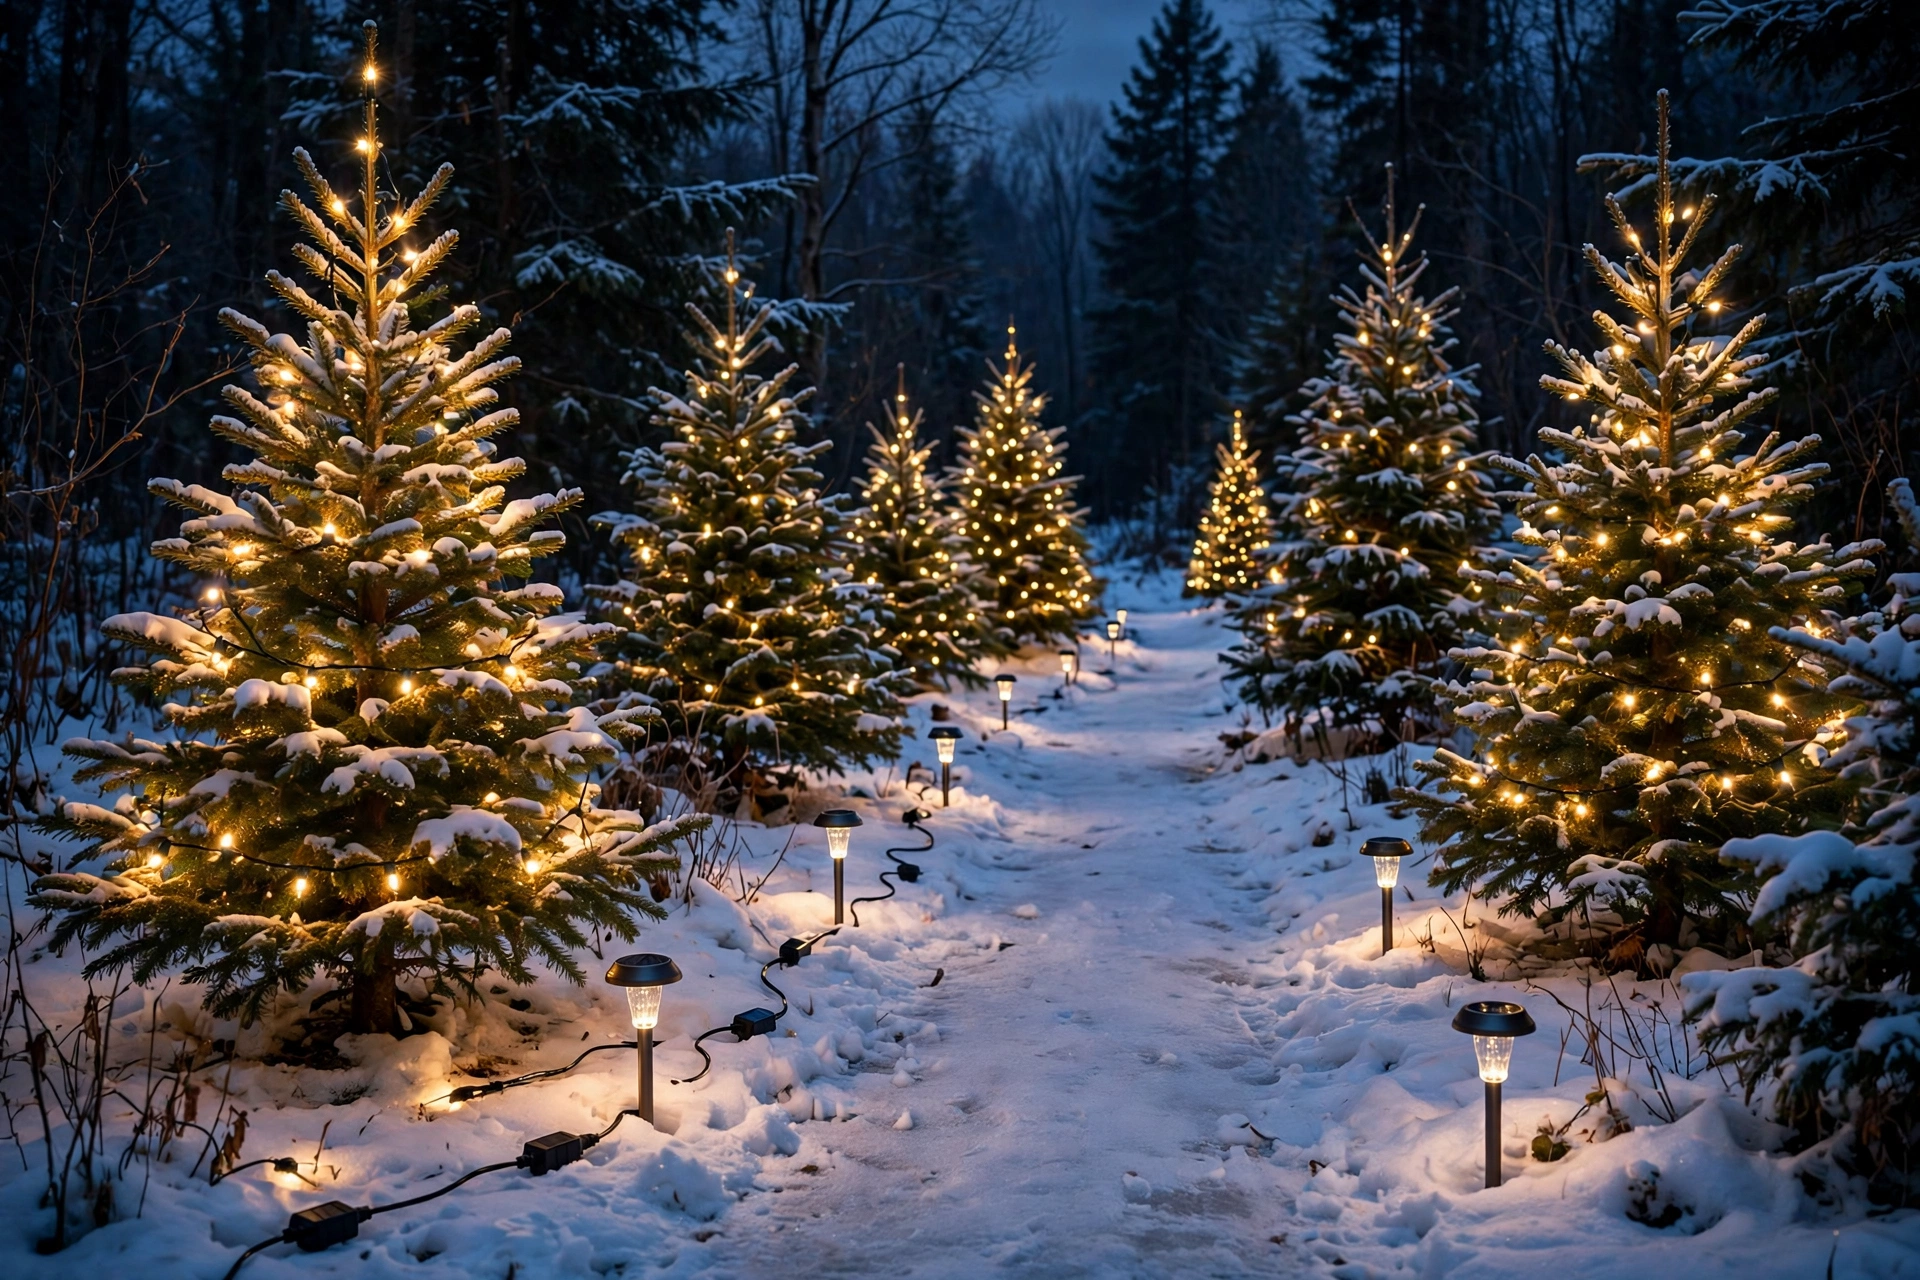
7. Solar Versus Plug-In Tree Lights
Choosing between solar and plug-in lights matters most in snowy gardens, where short winter days limit charging. Solar lights need a panel placed in direct sun for at least four hours, while plug-in LED strands run reliably all night and use only about 10 watts per 100 lights.
For trees far from the house, use solar lights with a separate panel you can angle toward the sun. For the main pathway trees, plug-in lights with an outdoor timer are the dependable choice, and the timer saves electricity too.
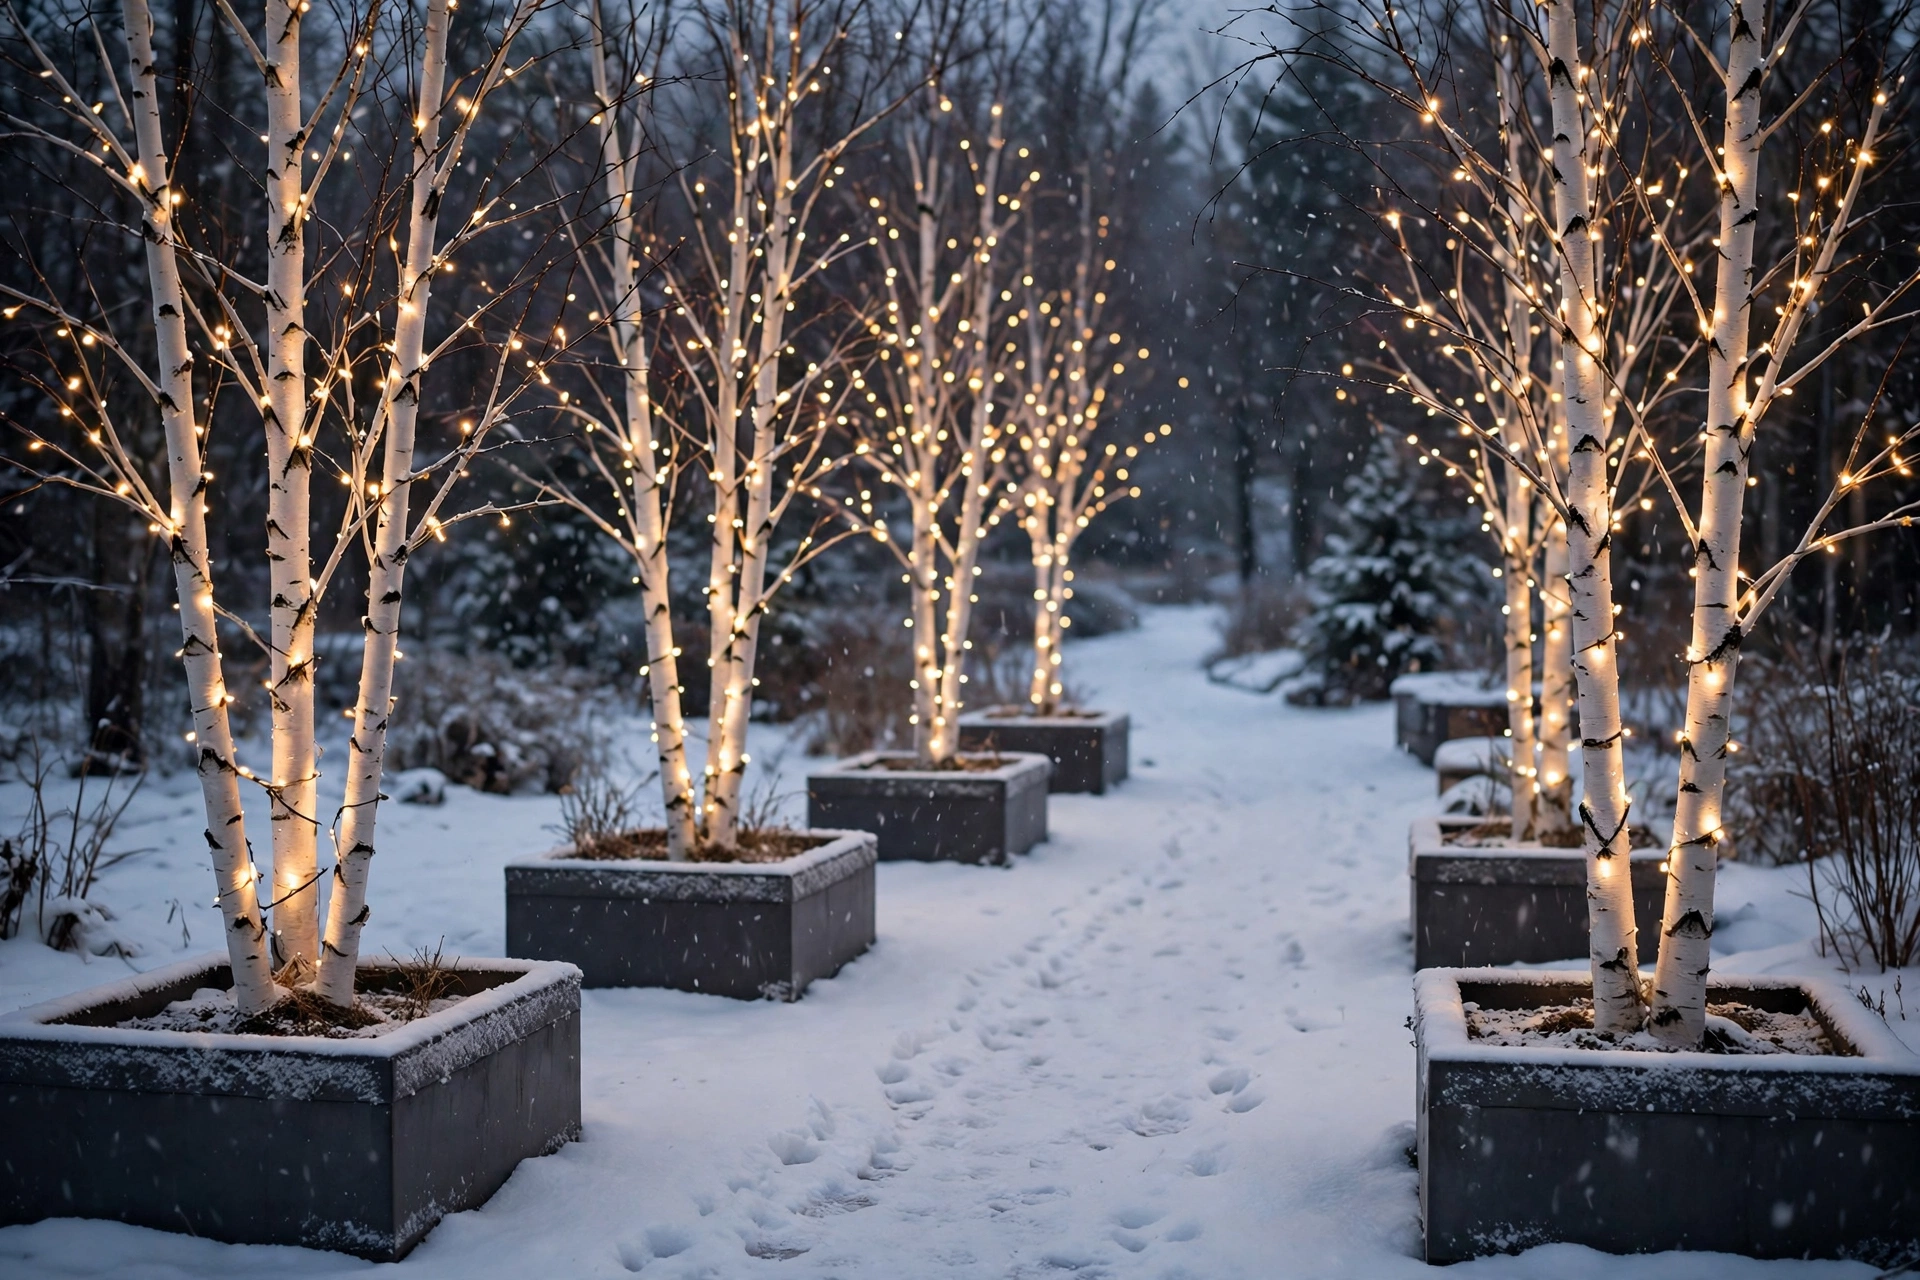
8. Lighted Birch Trees in Planters
Lighted birch trees in planters bring a Scandinavian touch to a snowy pathway, their white bark glowing softly against the snow. Choose birch stems about five feet tall, planted in pots at least eighteen inches wide, and wrap each stem with a 60-light warm-white strand.
Group the planters in threes of different heights for a natural woodland look, and insulate the pots with burlap so roots survive hard frosts. Avoid placing birch planters where roof snow slides off, since a sudden dump can snap the stems.
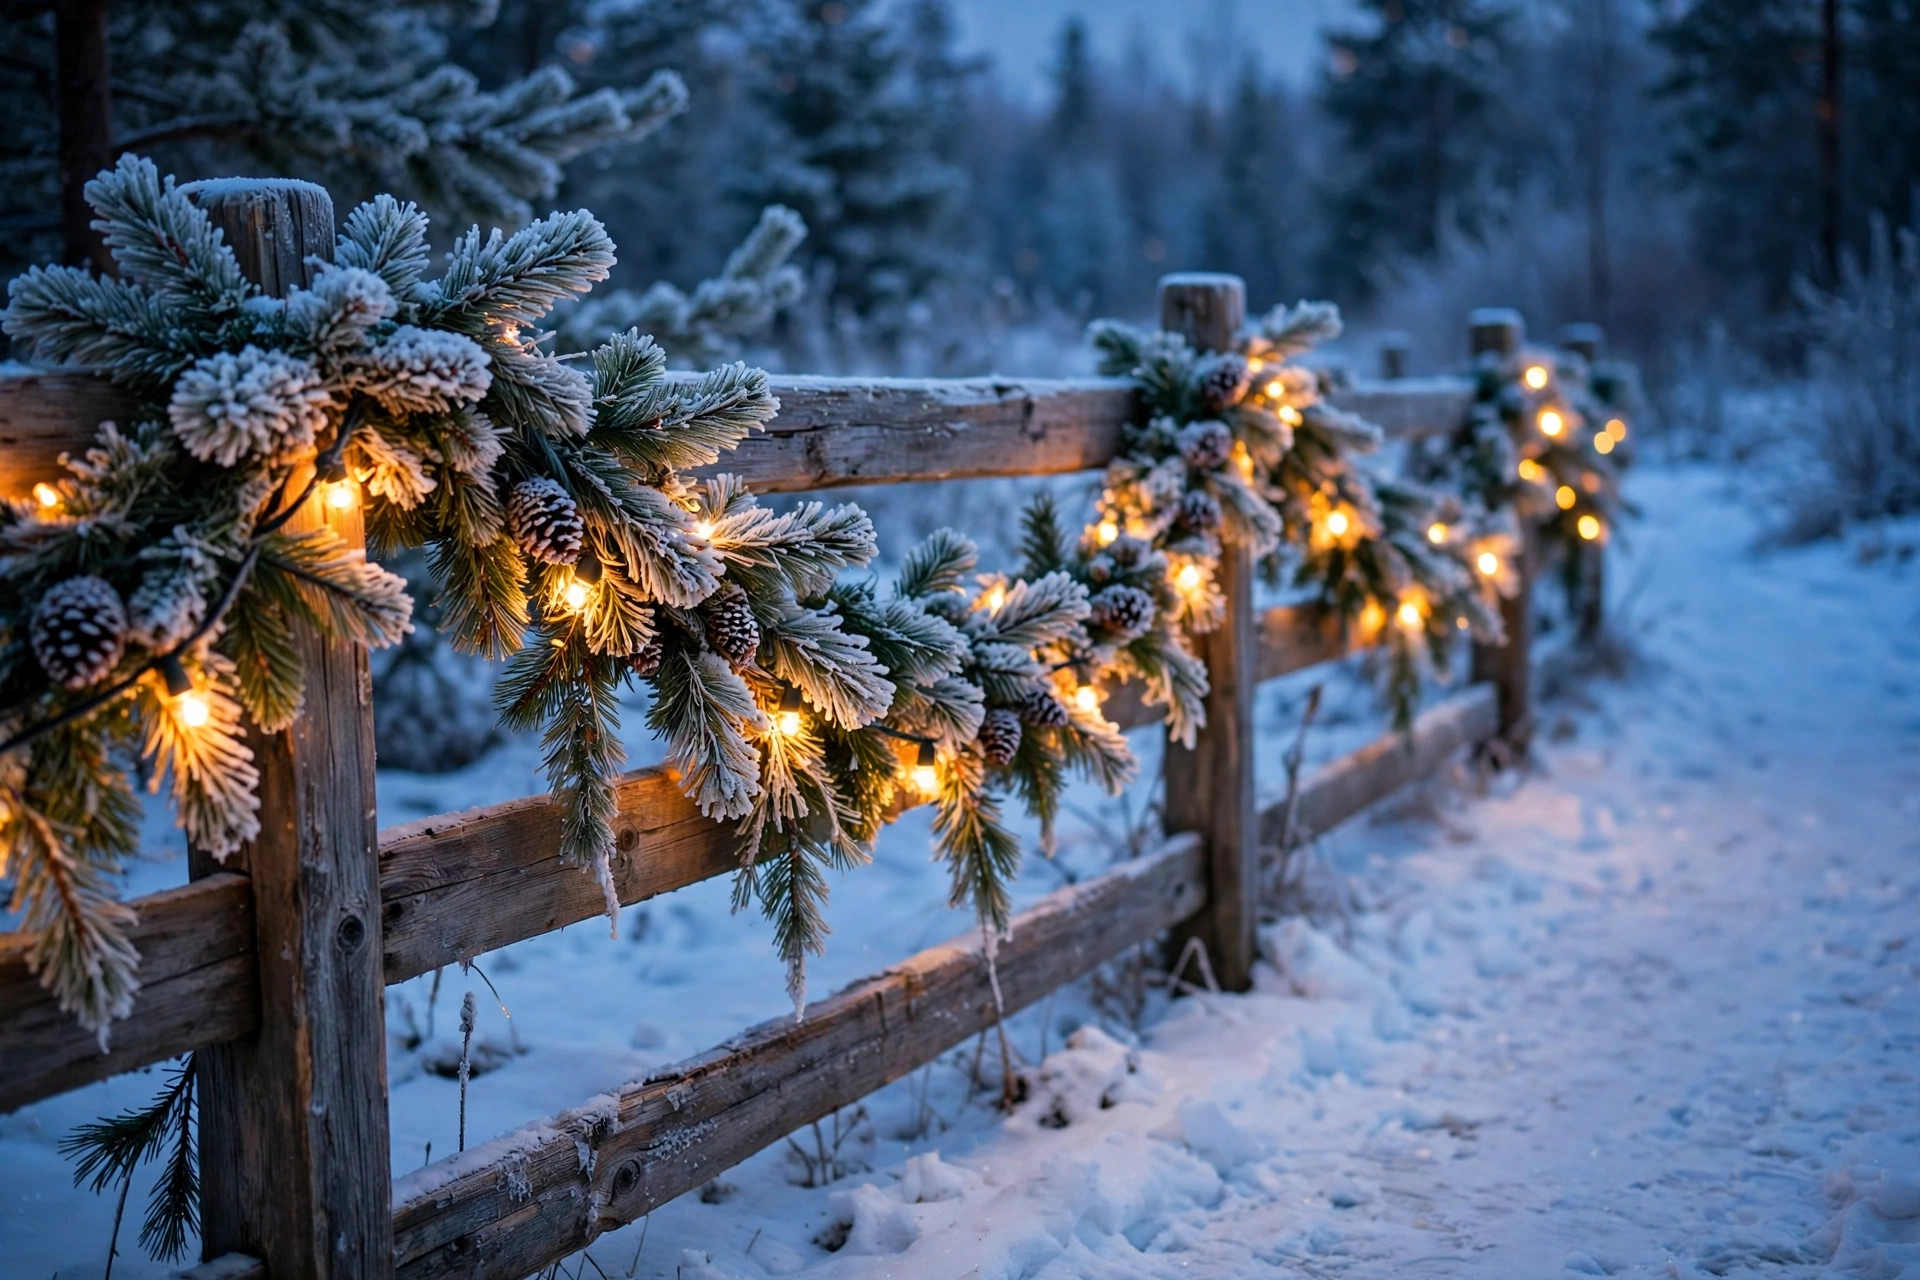
9. Frosted Pine Garland Along the Fence
Frosted pine garland along the fence turns a plain boundary into a glowing frame for the whole pathway. Drape nine-foot garland lengths along the top rail, fastening them with zip ties every eighteen inches, and weave a 100-light strand through each length.
Spray the garland lightly with flocking to mimic fresh snow, but test the spray on one branch first, since heavy coats can look grey rather than snowy. Replace any garland section that turns brown, because one dull patch breaks the whole glowing effect.
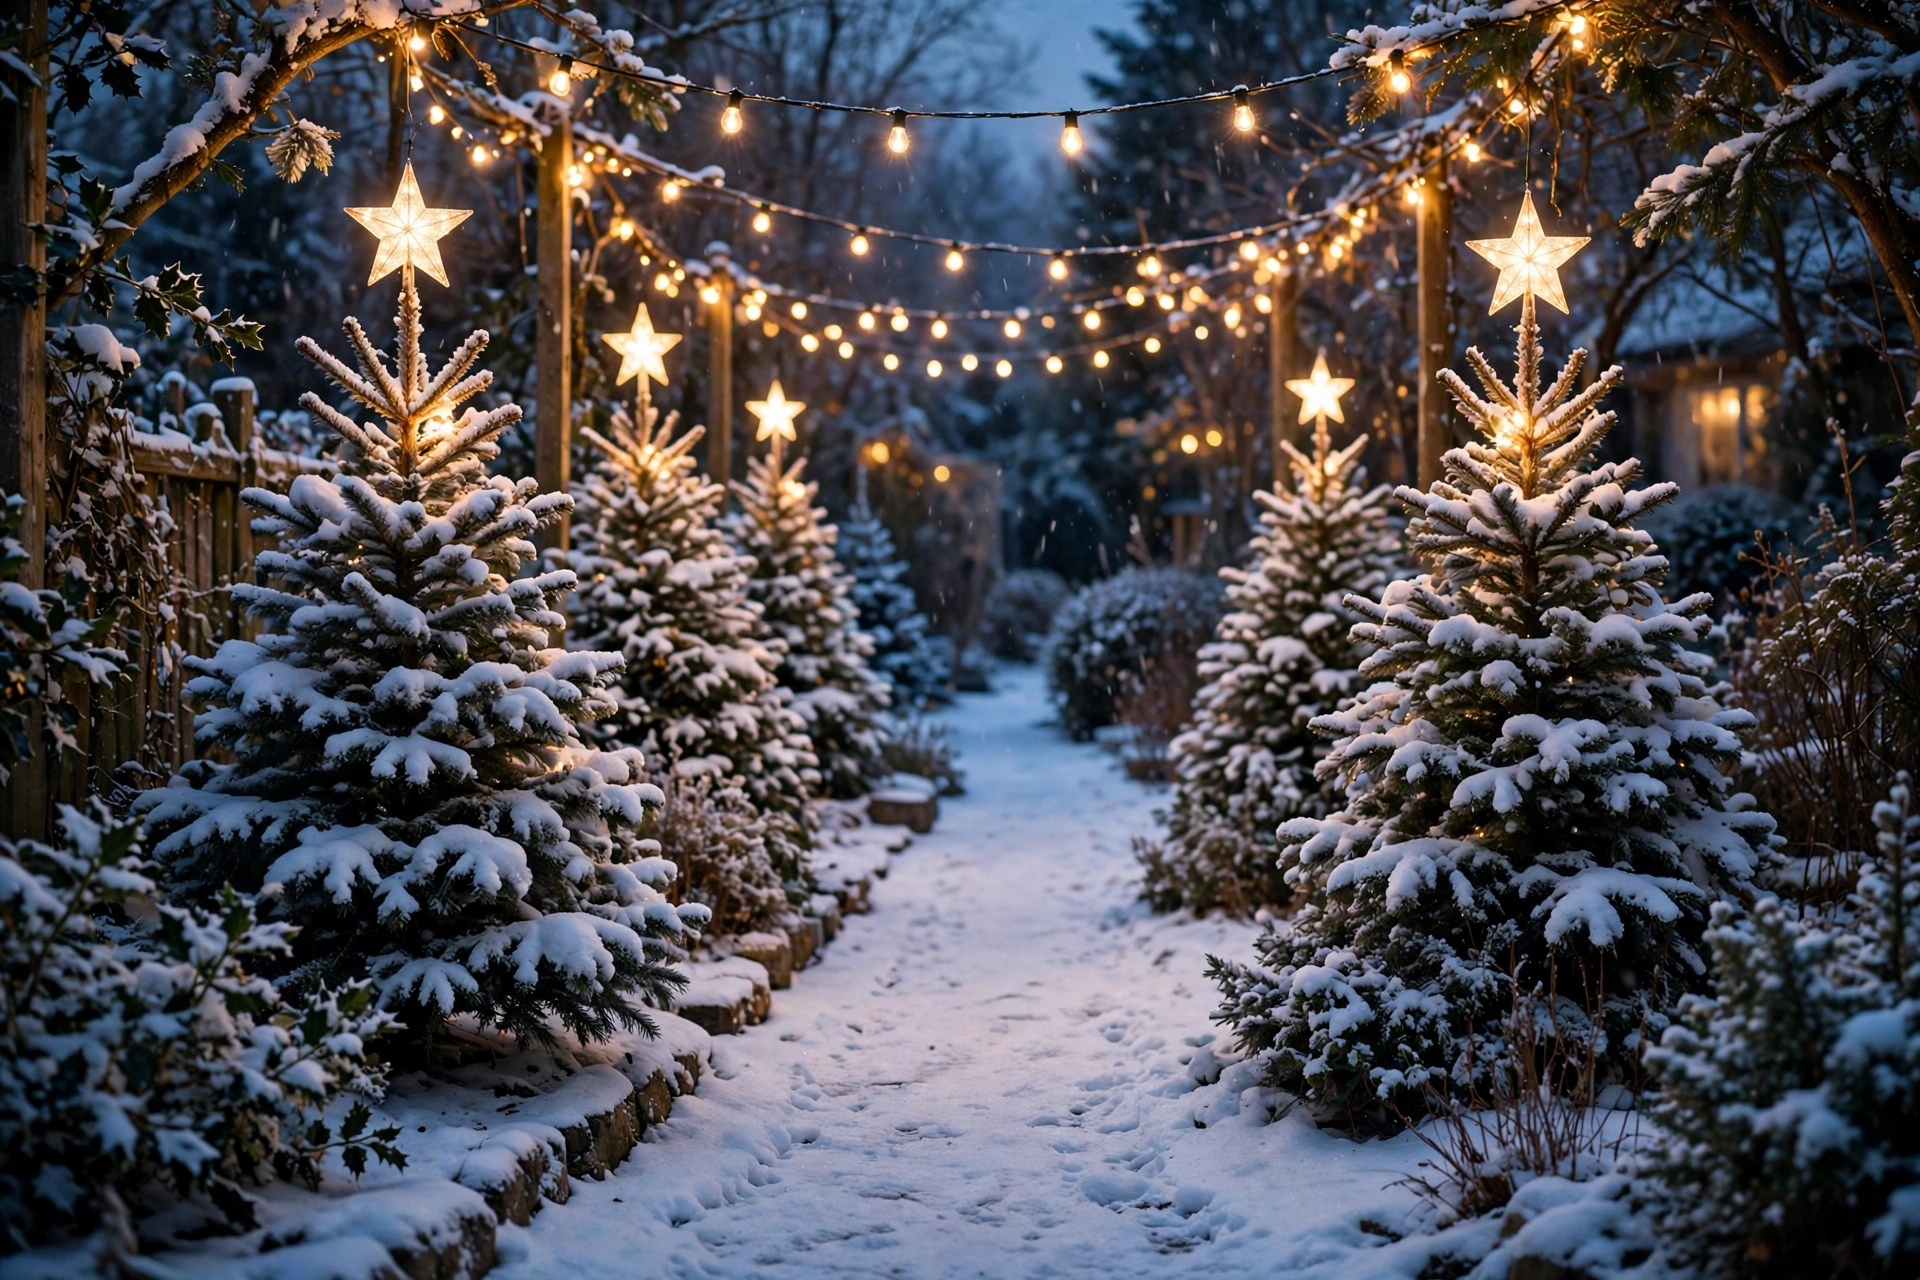
10. Star-Topped Trees Along the Walk
Star-topped trees give the pathway a classic finishing point, with each tree crowned by a lit star. Choose stars about ten inches wide for six-foot trees, and secure them with a sturdy topper clip rather than balancing them loosely on the highest branch.
Use warm-white LED stars, which stay cool and will not melt snow piled on the branches. A common mistake is mixing star colours along one path, so keep every topper the same warm white for a calm, unified glow.
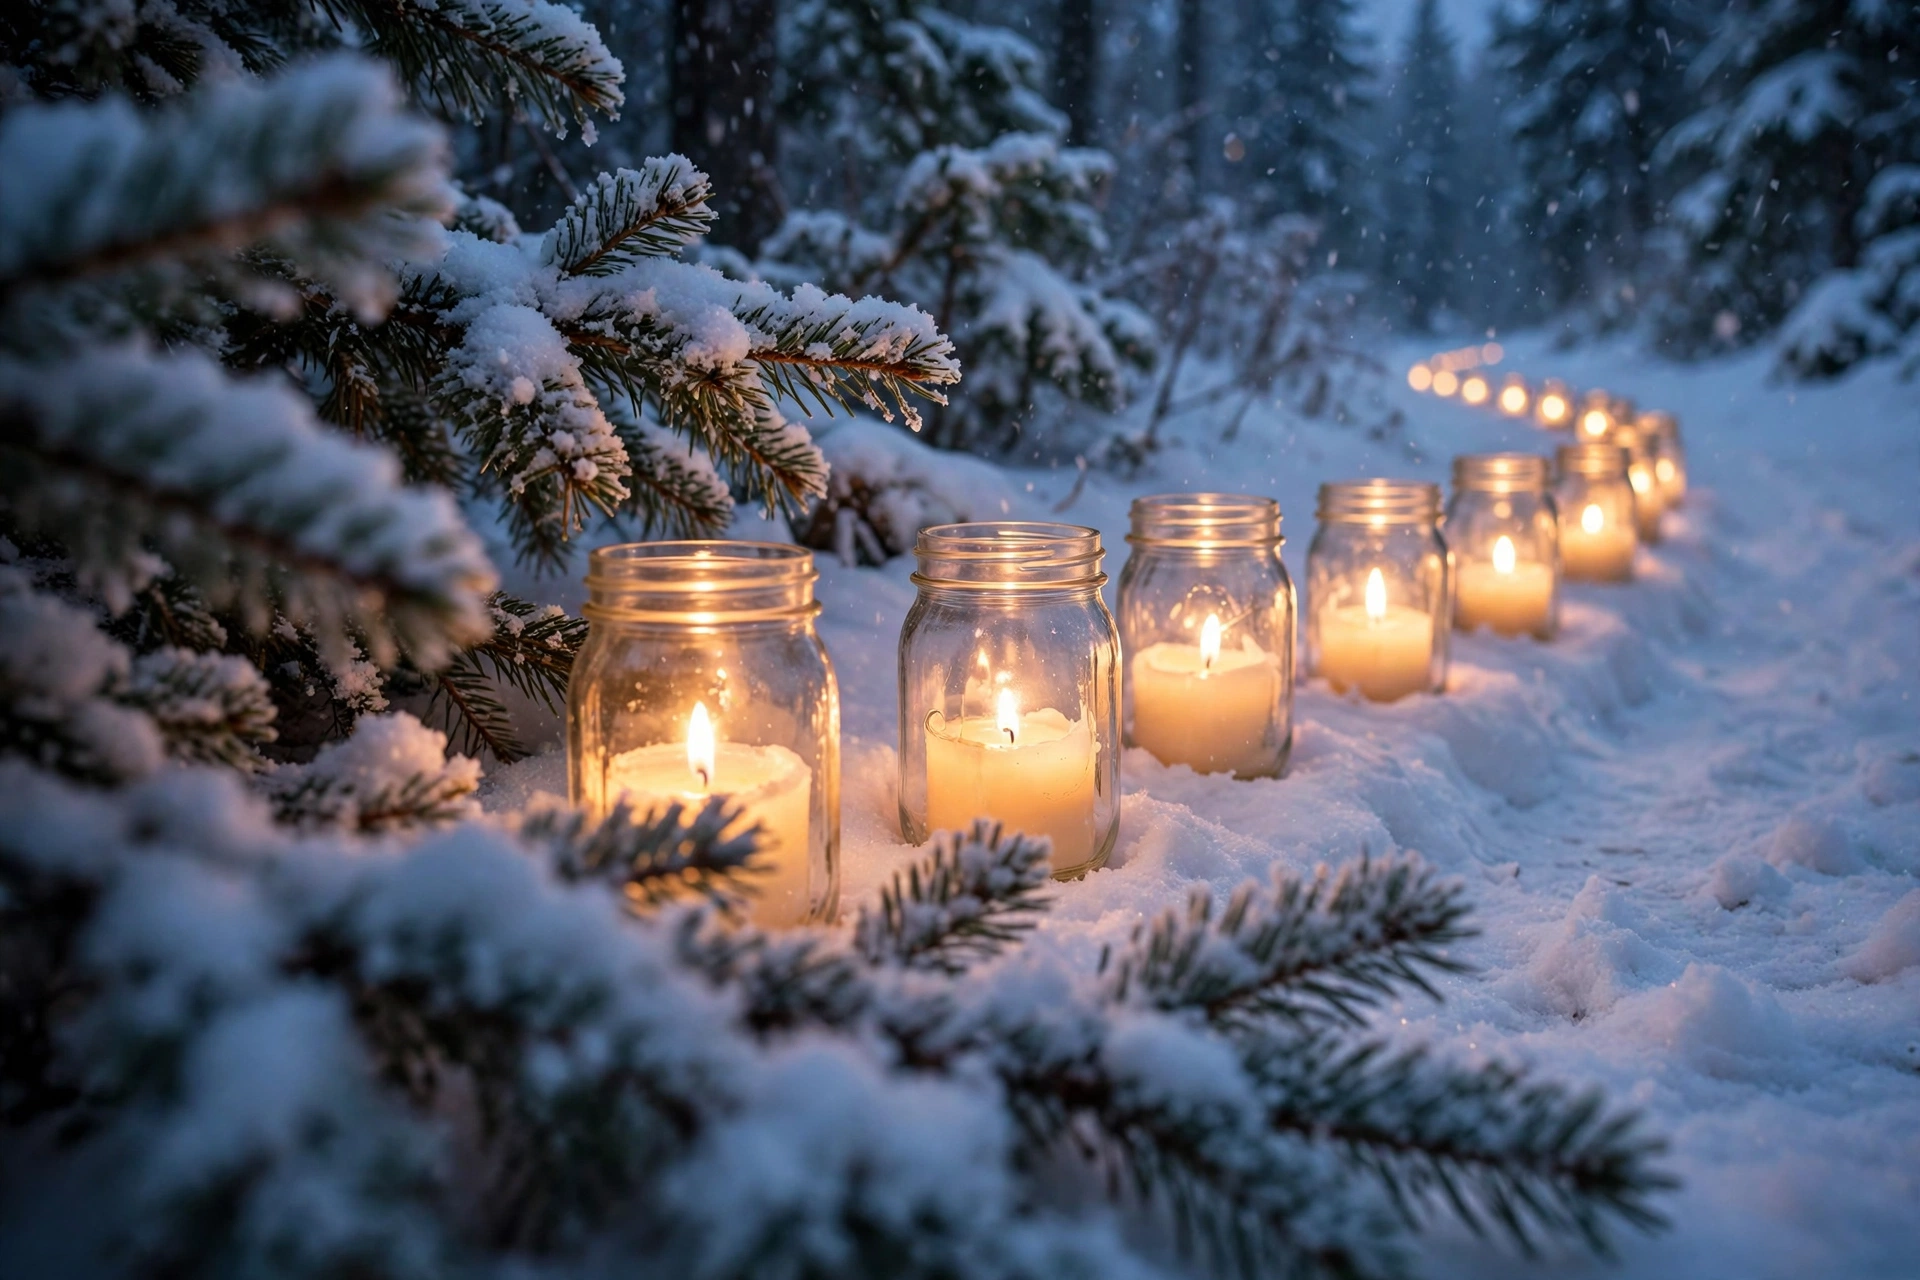
11. Mason Jar Lights as Pathway Markers
Mason jar lights make charming pathway markers, glowing like captured fireflies in the snow. Fill each quart jar with a 20-light fairy strand and a handful of fake snow, then hang the jars from shepherd’s hooks about thirty inches tall, spaced four feet apart.
Use jars with wire handles and outdoor-rated fairy lights, and bring the jars indoors during heavy storms so ice does not crack the glass. One jar per hook looks far more elegant than clusters, which can look cluttered in snow.
12. Colour-Changing Versus Warm White Trees
Colour-changing trees can be fun, but warm white usually wins on a snowy pathway because it flatters the snow instead of competing with it. If you love colour, keep it to one accent tree in red and green, and let the rest of the pathway glow warm white for balance.
For a fully colourful display done properly, a Magical Christmas Pathway with Glowing Candy Cane Lights shows how bright colours can shine without looking chaotic. Set colour-changing lights to a slow fade rather than a fast flash, which can feel frantic in a quiet winter garden.
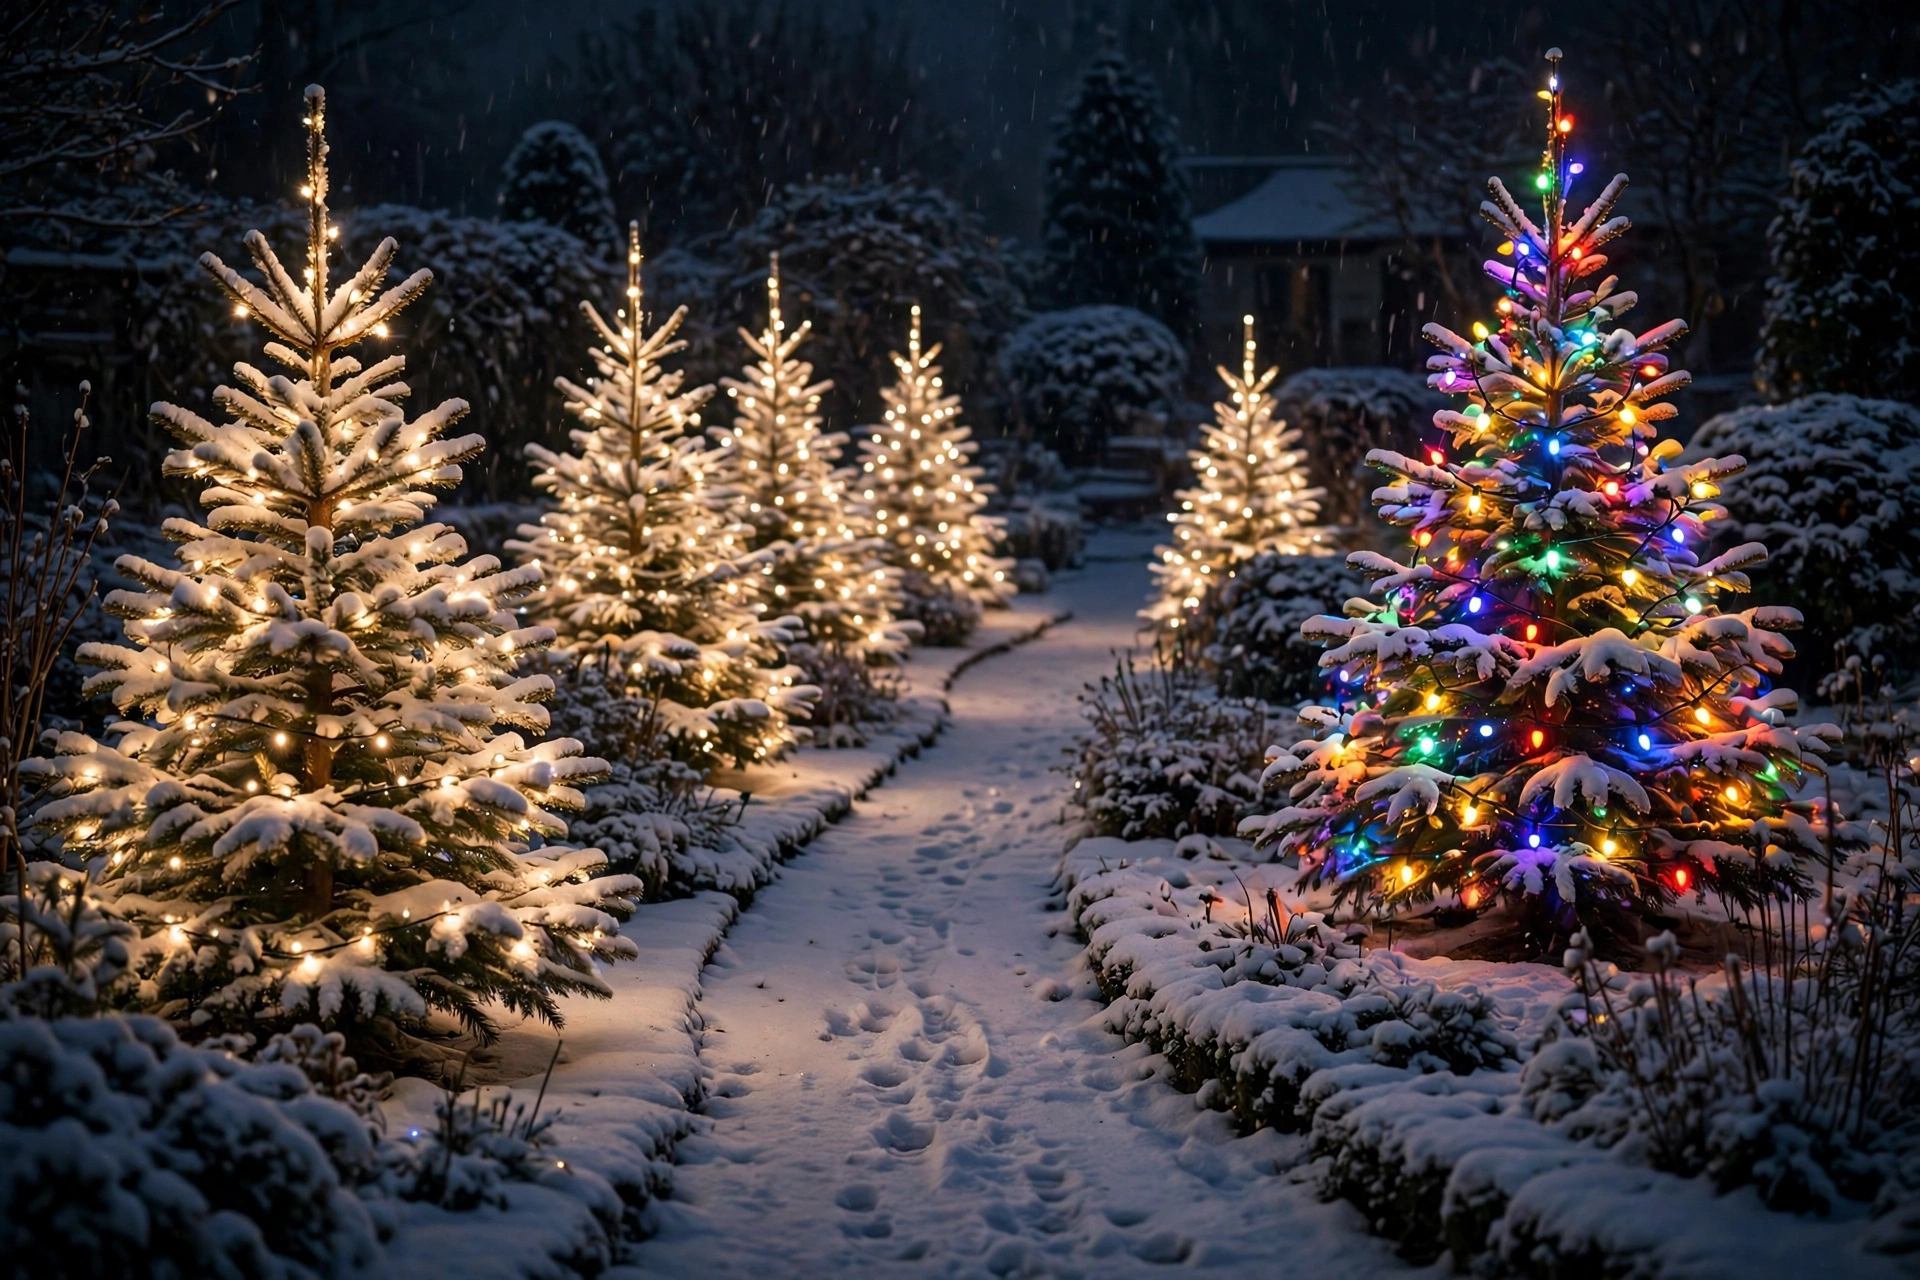
13. Safe Cables Buried Under Snow
Safe cables are the unglamorous secret of a beautiful snowy pathway, because a single visible cord can ruin the magic. Run extension cords through outdoor-rated cable covers, and bury the covers just under the snow at the path edge, never across the walkway itself.
Use only outdoor extension cords rated for at least 15 amps, and plug them into a GFCI-protected outlet with a weatherproof cover. Never join more than three light strands end to end unless the manufacturer states a higher limit, since overloaded strands overheat even in cold weather.
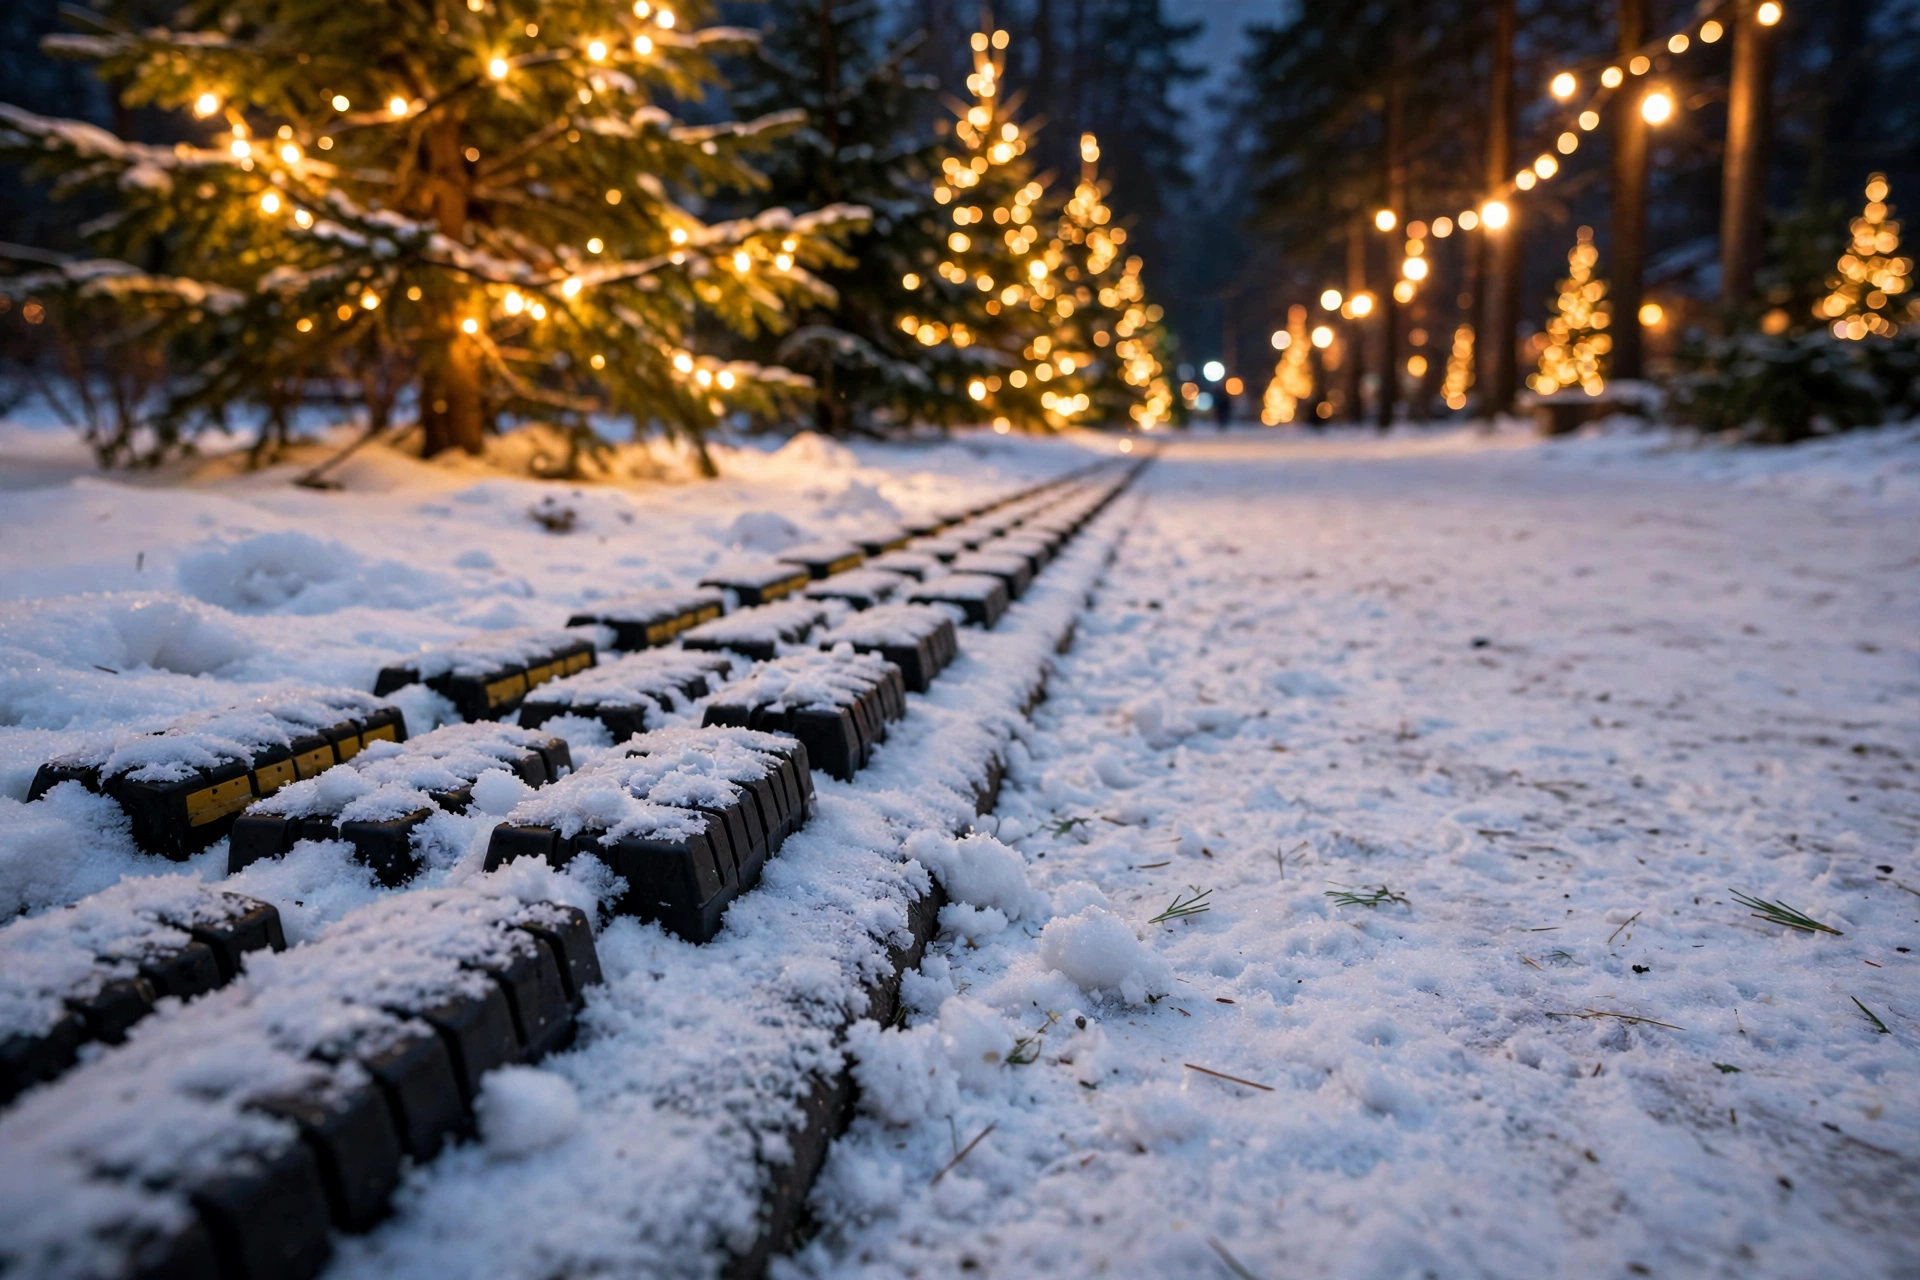
14. Snowfall-Proof Light Clips
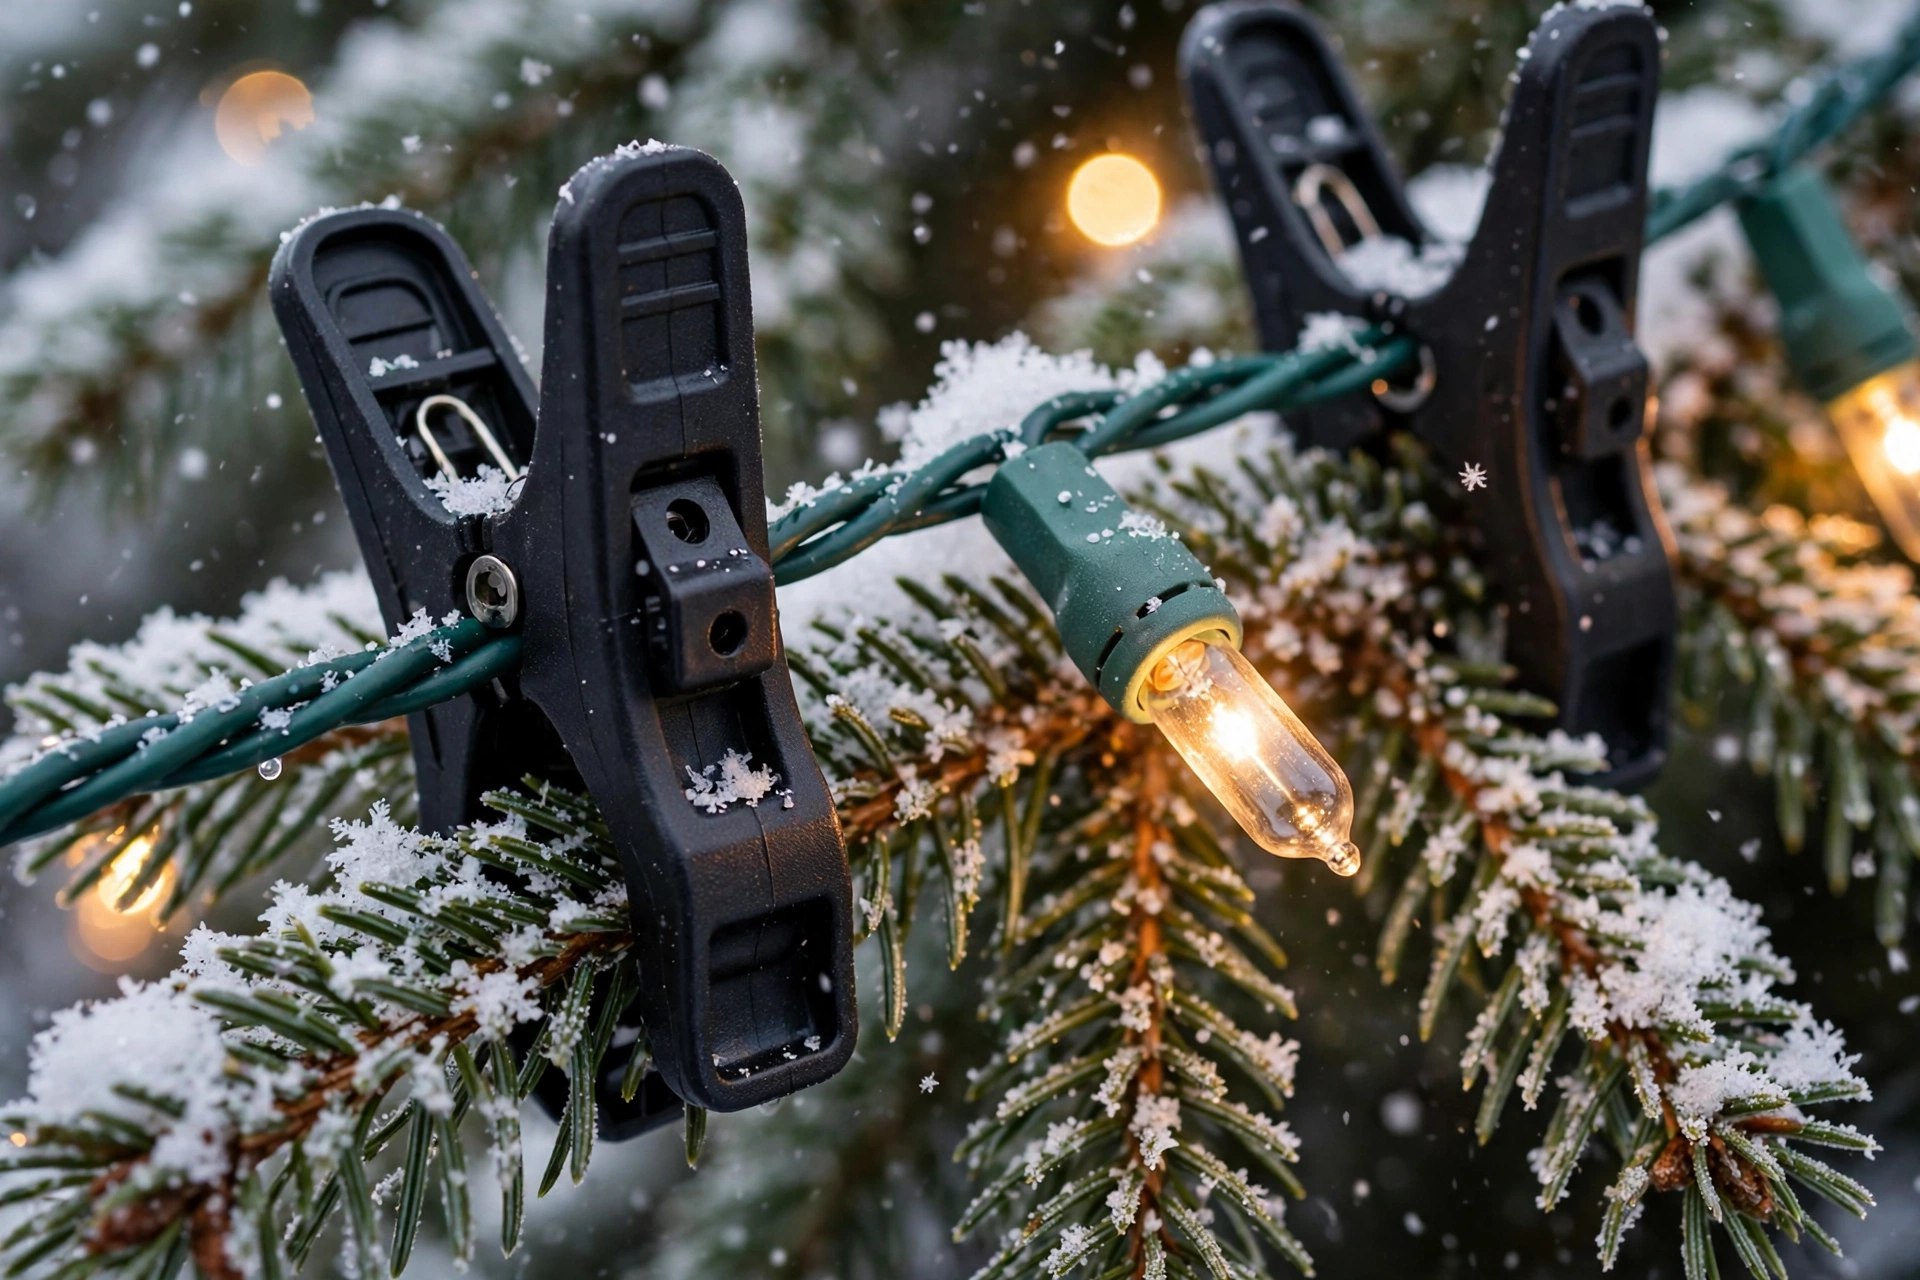
Heavy snowfall pulls down lights fast unless they are clipped properly, so choose the right clip for each surface. Use all-purpose light clips on gutters and shingles, and sturdy gutter hooks rated for ice loads, spacing clips every twelve inches along each strand.
After the first heavy snow, walk the path and re-clip any sagging sections before ice locks them in place. Avoid adhesive clips outdoors in winter, since they lose their grip below freezing and drop whole strands into the snow.
15. A Snowy Christmas Pathway with Illuminated Trees for Small Yards
Small yards can still glow beautifully, because a short pathway needs only three well-lit trees to feel magical. Choose slim evergreens no wider than three feet, plant them four feet apart, and wrap each in 150 lights so the small space shines without feeling crowded.
Use mirrors of light rather than more trees: a single uplight aimed at a snow-covered shrub doubles the glow, and pale paving reflects light back up. Avoid large inflatables in a small yard, since they steal attention from the illuminated trees.
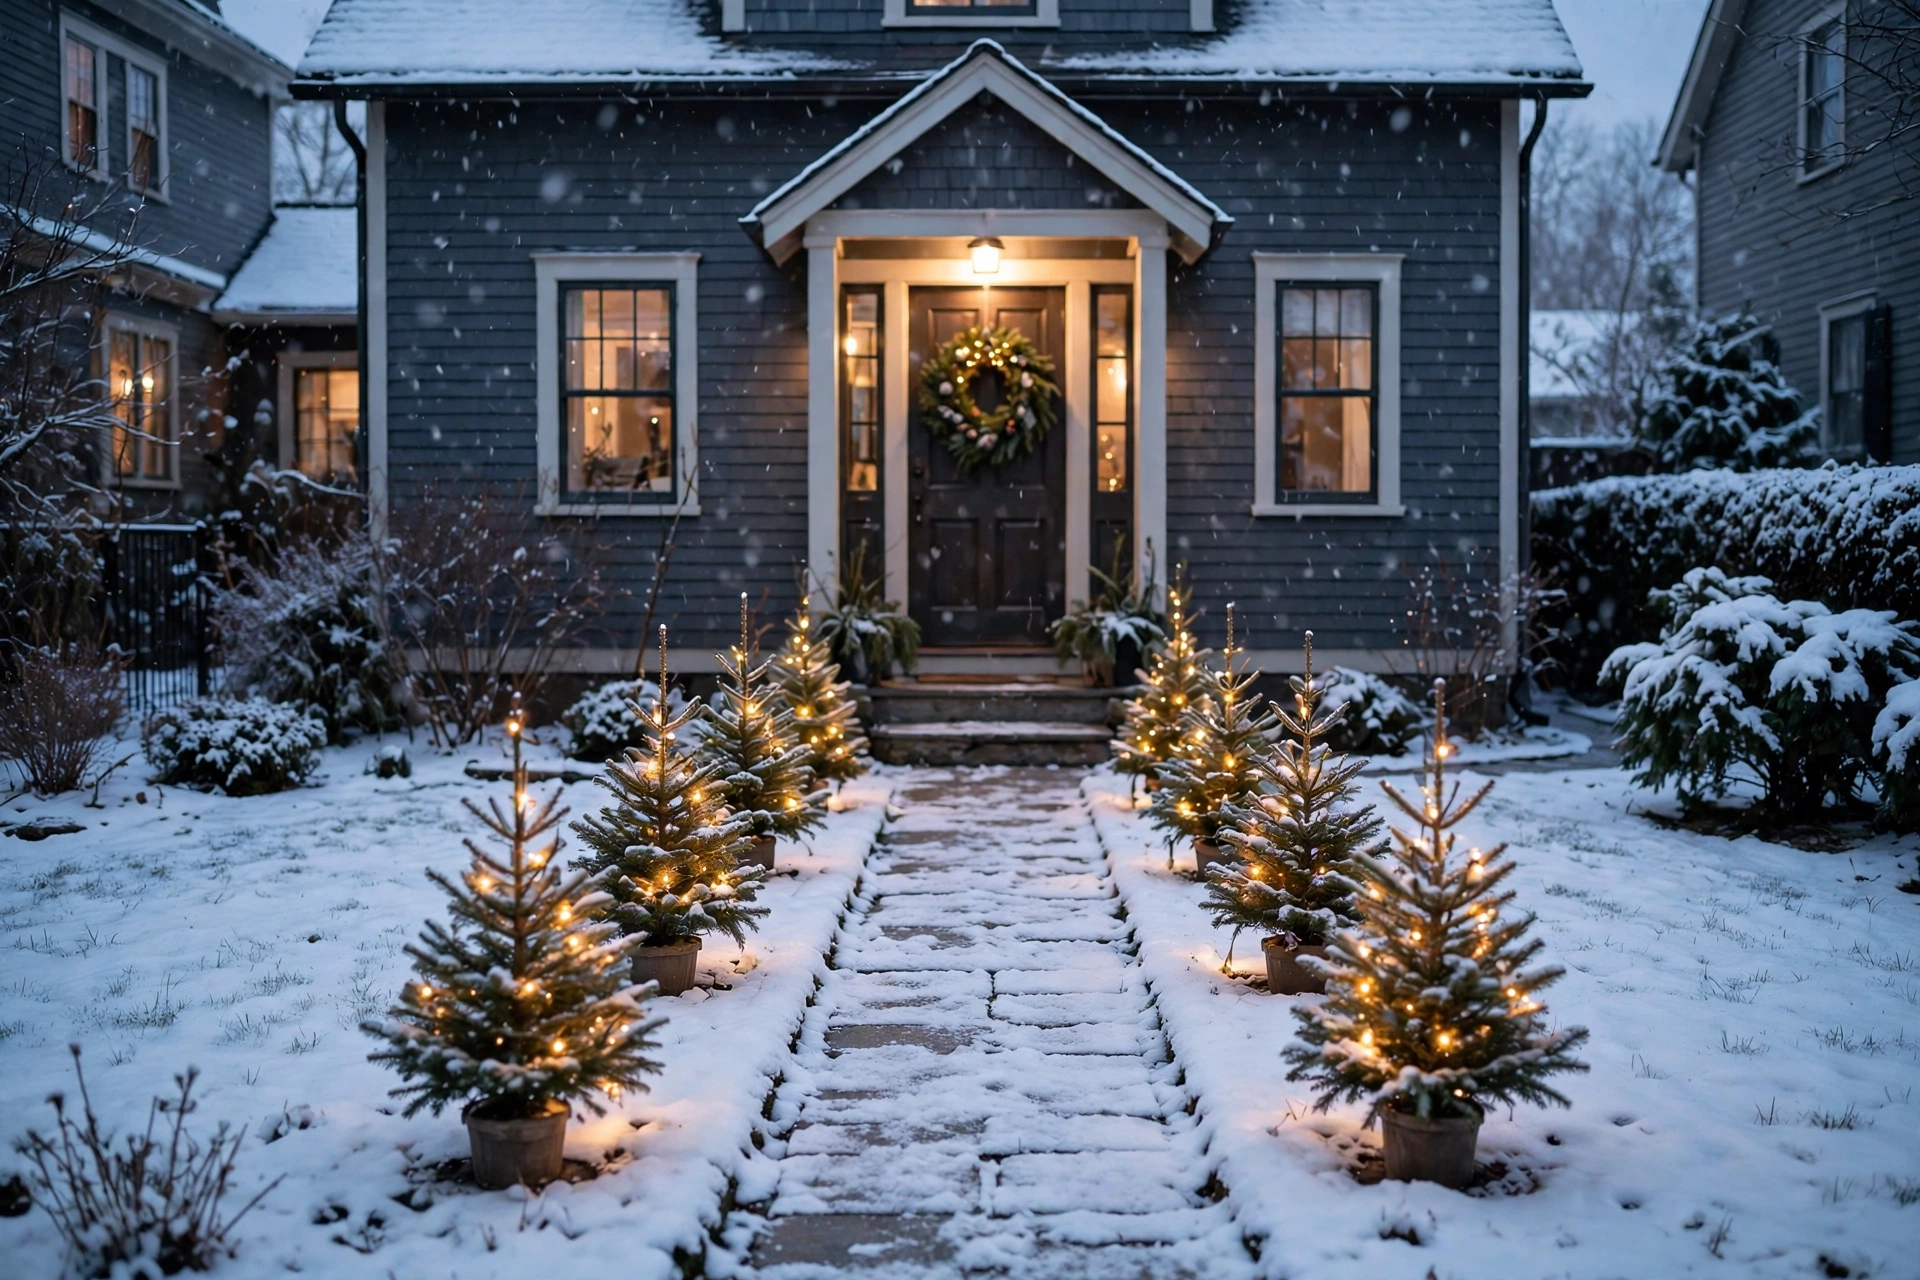
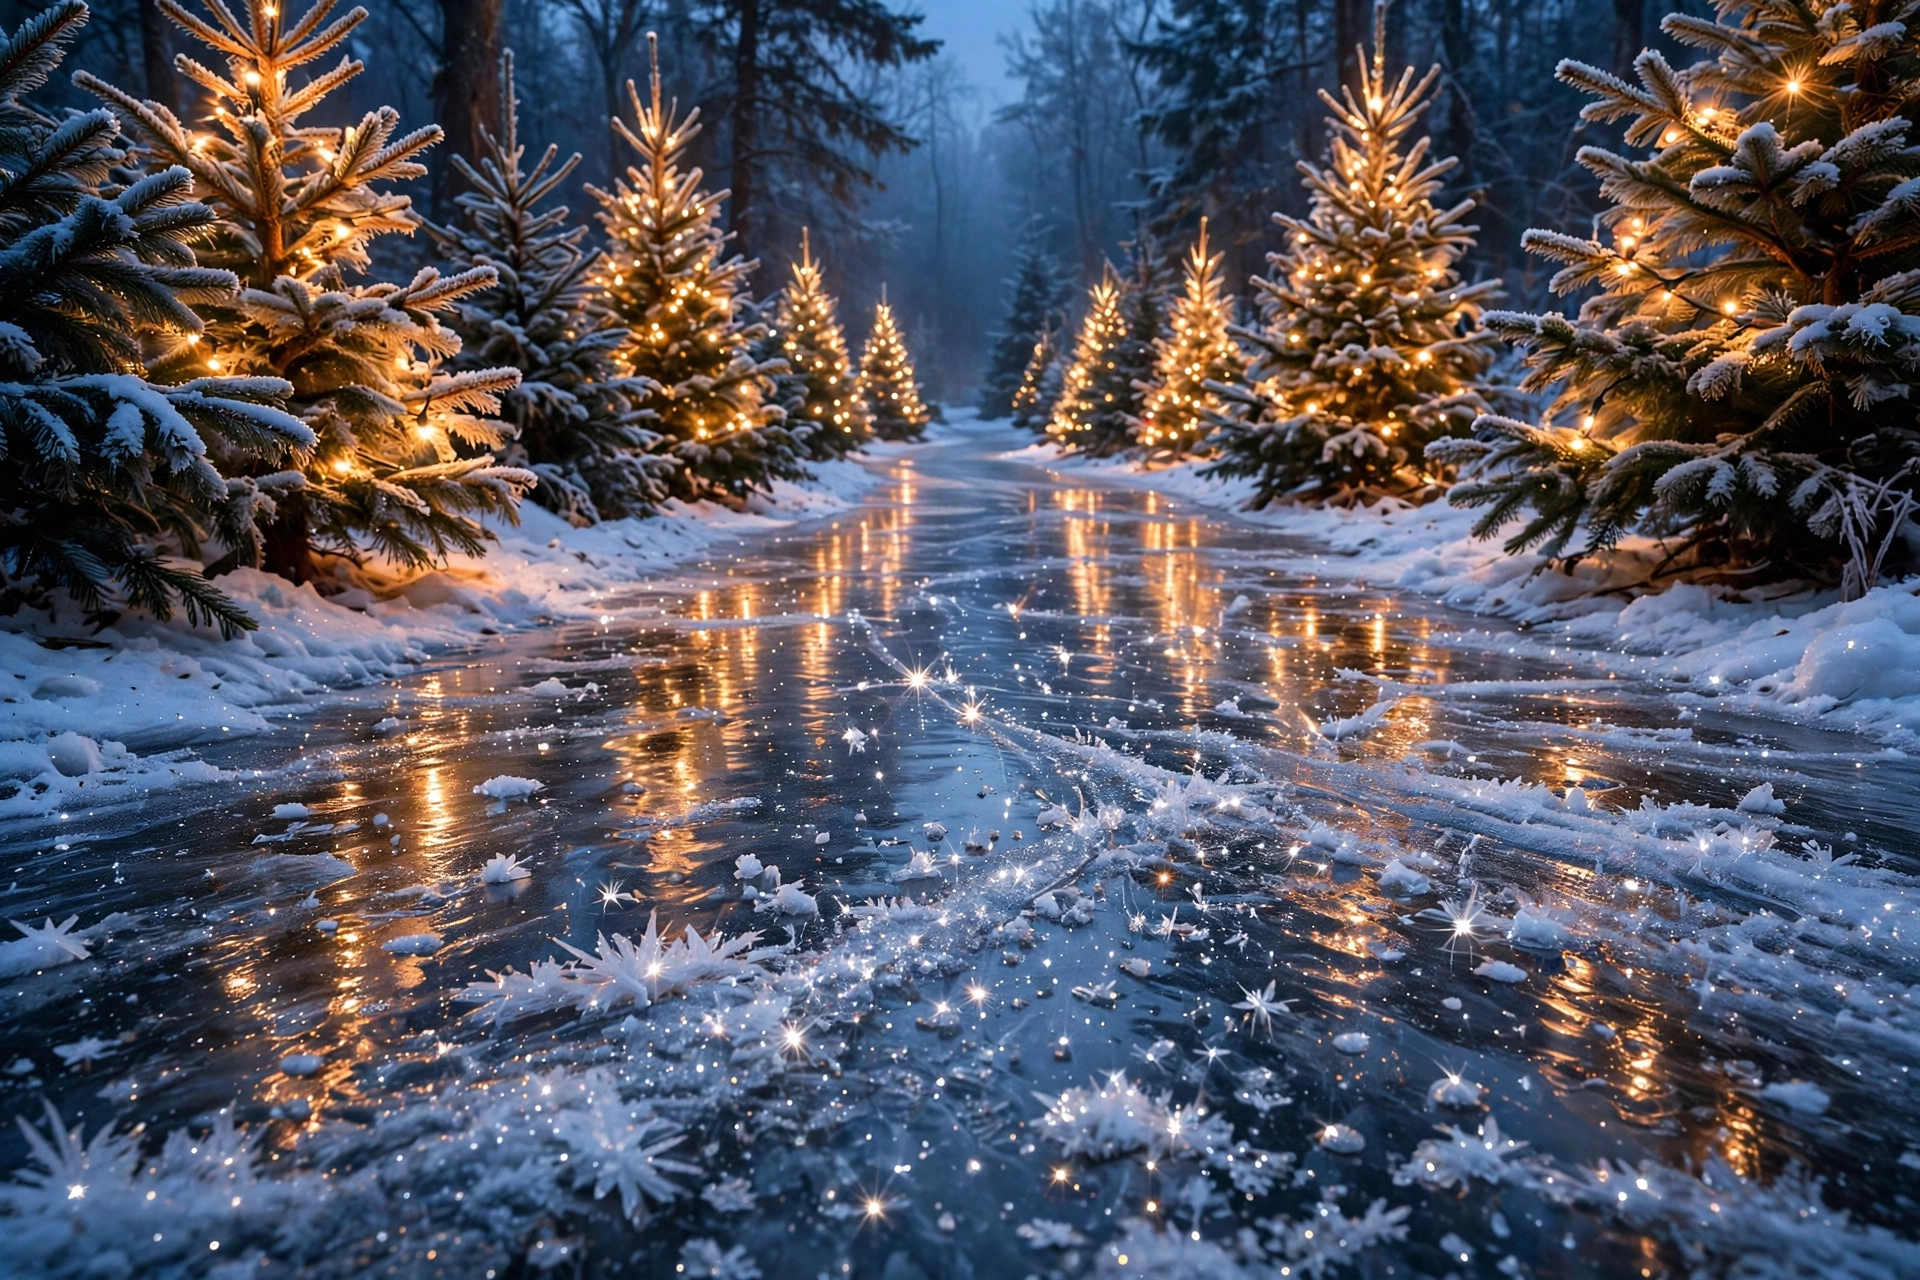
16. Reflections on Icy Puddles and Snow
Reflections double the magic for free, as glowing trees shimmer in icy puddles and polished snow. After a light freeze, leave thin ice on flat stone sections rather than clearing every trace, since the mirror-like surface bounces tree lights back up beautifully.
Place one uplight at the base of each feature tree, angled upward at about 45 degrees, so the canopy glows and its reflection appears in the snow below. Keep the walking surface itself ice-free for safety, and let the reflections live at the path edges.
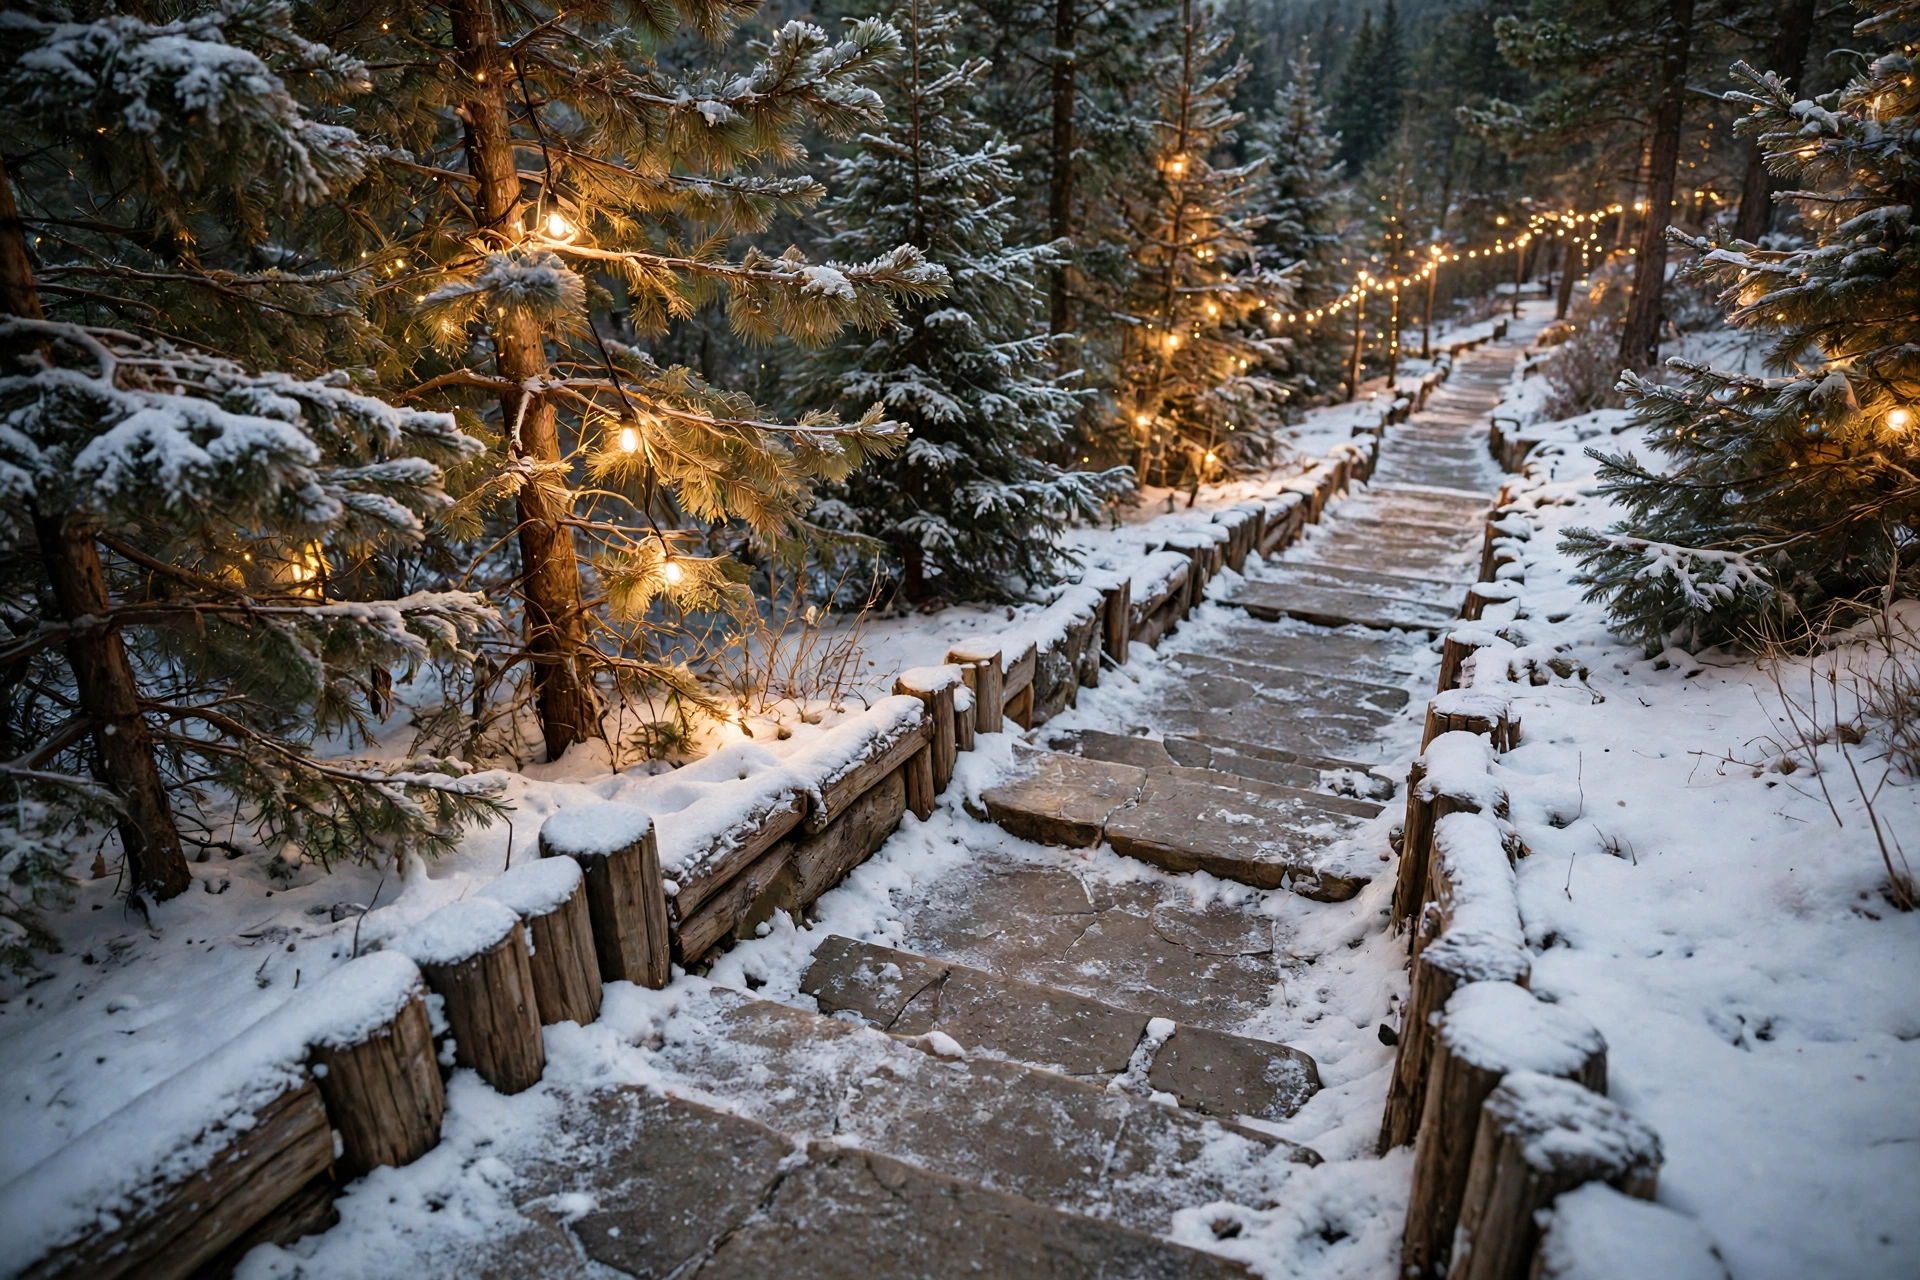
17. Timber Edging and Stone Steps
Timber edging and stone steps give a snowy pathway structure that shows even under a foot of snow. Set pressure-treated timber edging six inches high along both sides, and lay stone steps at least three feet wide with a gentle four-inch rise for safe winter footing.
Brush snow off the steps after each fall rather than letting it compact into ice, and scatter fine grit for grip. Avoid smooth polished stone for winter steps, since it becomes dangerously slippery when wet snow melts and refreezes.
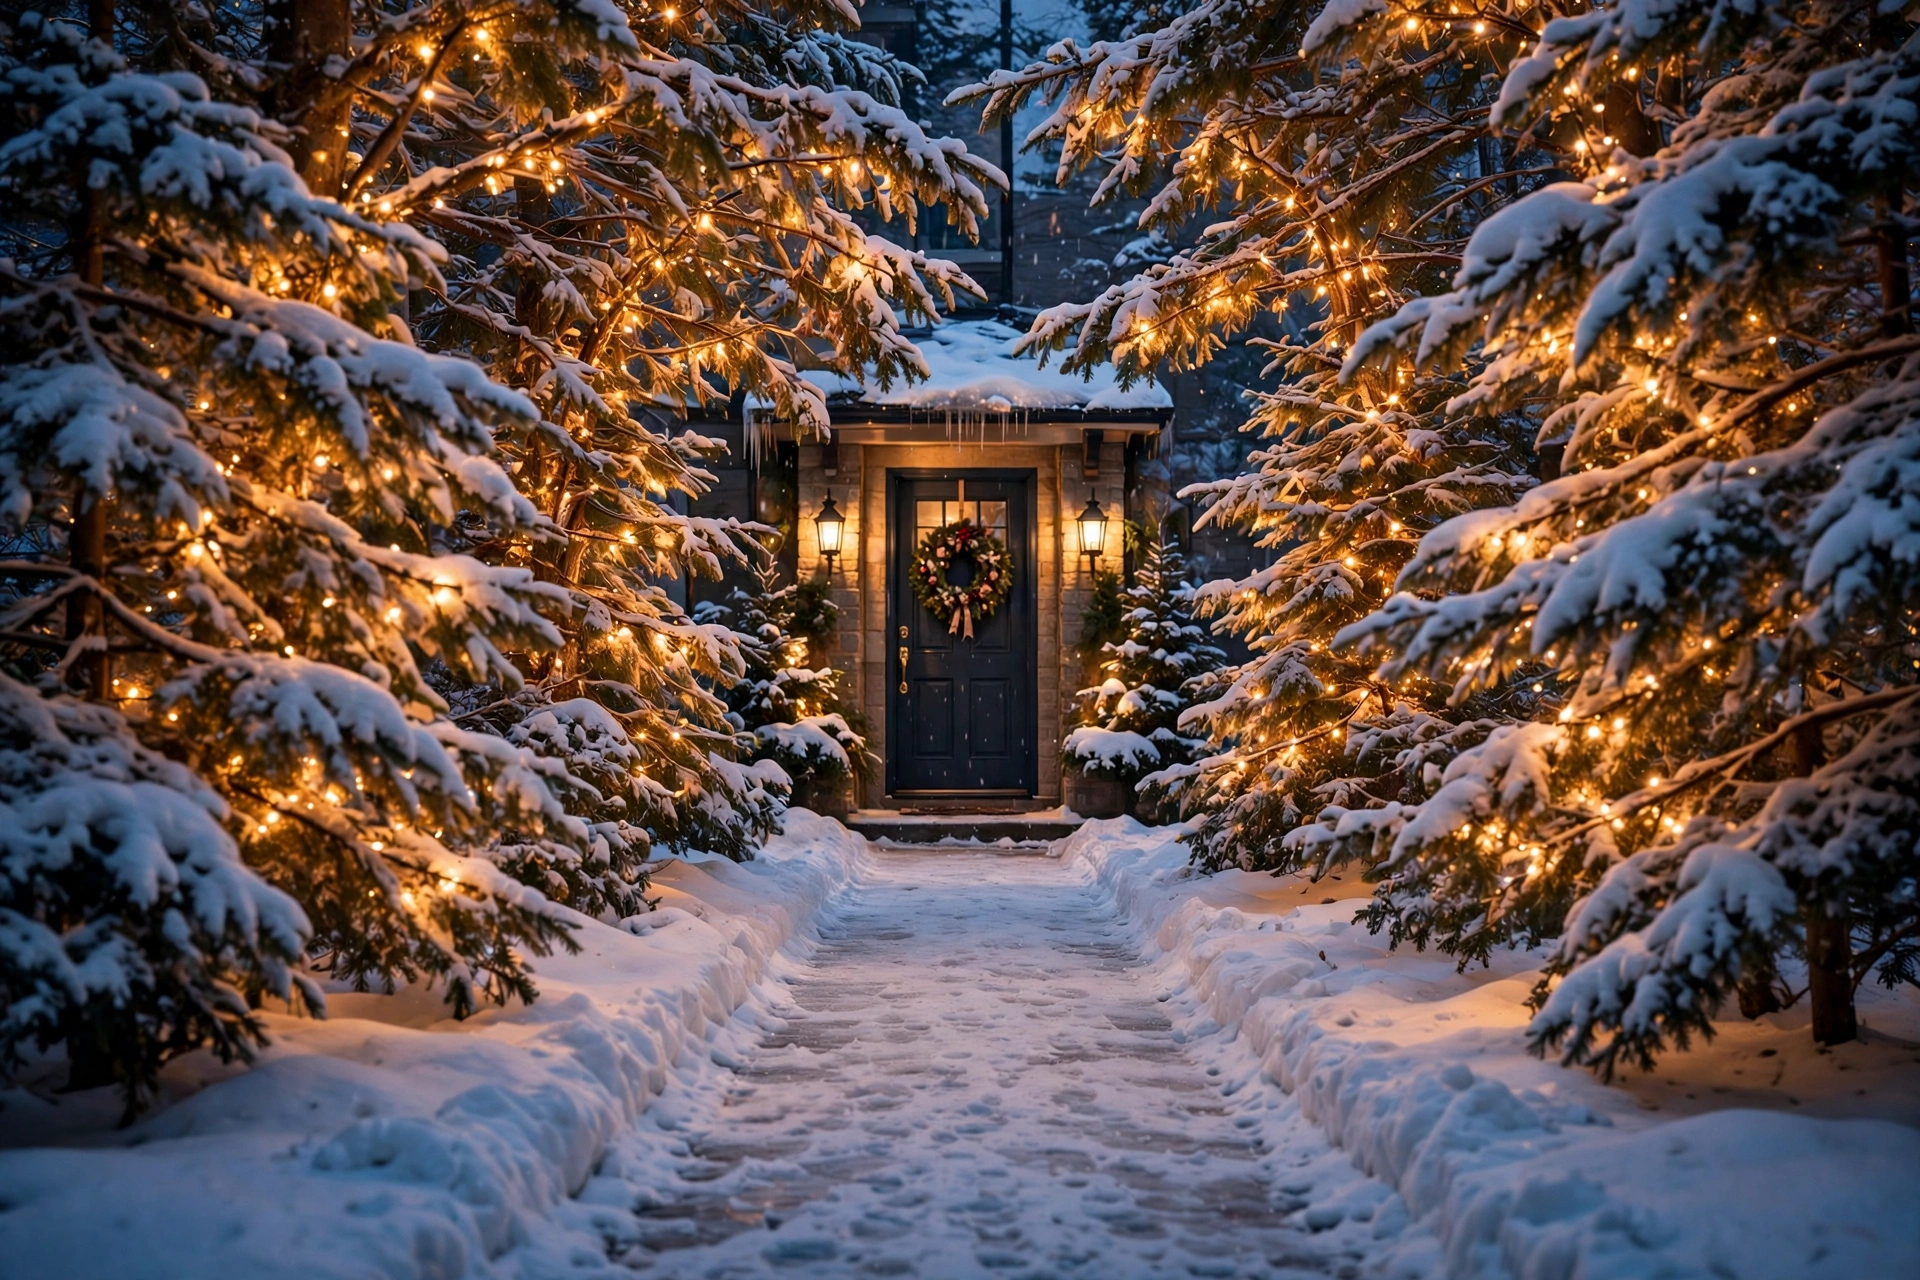
18. Illuminated Trees Framing the Front Door
Illuminated trees framing the front door make the end of the pathway feel like an arrival, not just a walk. Place one potted evergreen on each side of the door, each five to six feet tall, wrapped in 150 warm-white lights and topped with a simple gold bow.
Keep the trees at least two feet from the door swing so guests can enter without ducking branches. Add a matching wreath with a 50-light strand on the door itself, and the whole entrance will glow as one welcoming picture.
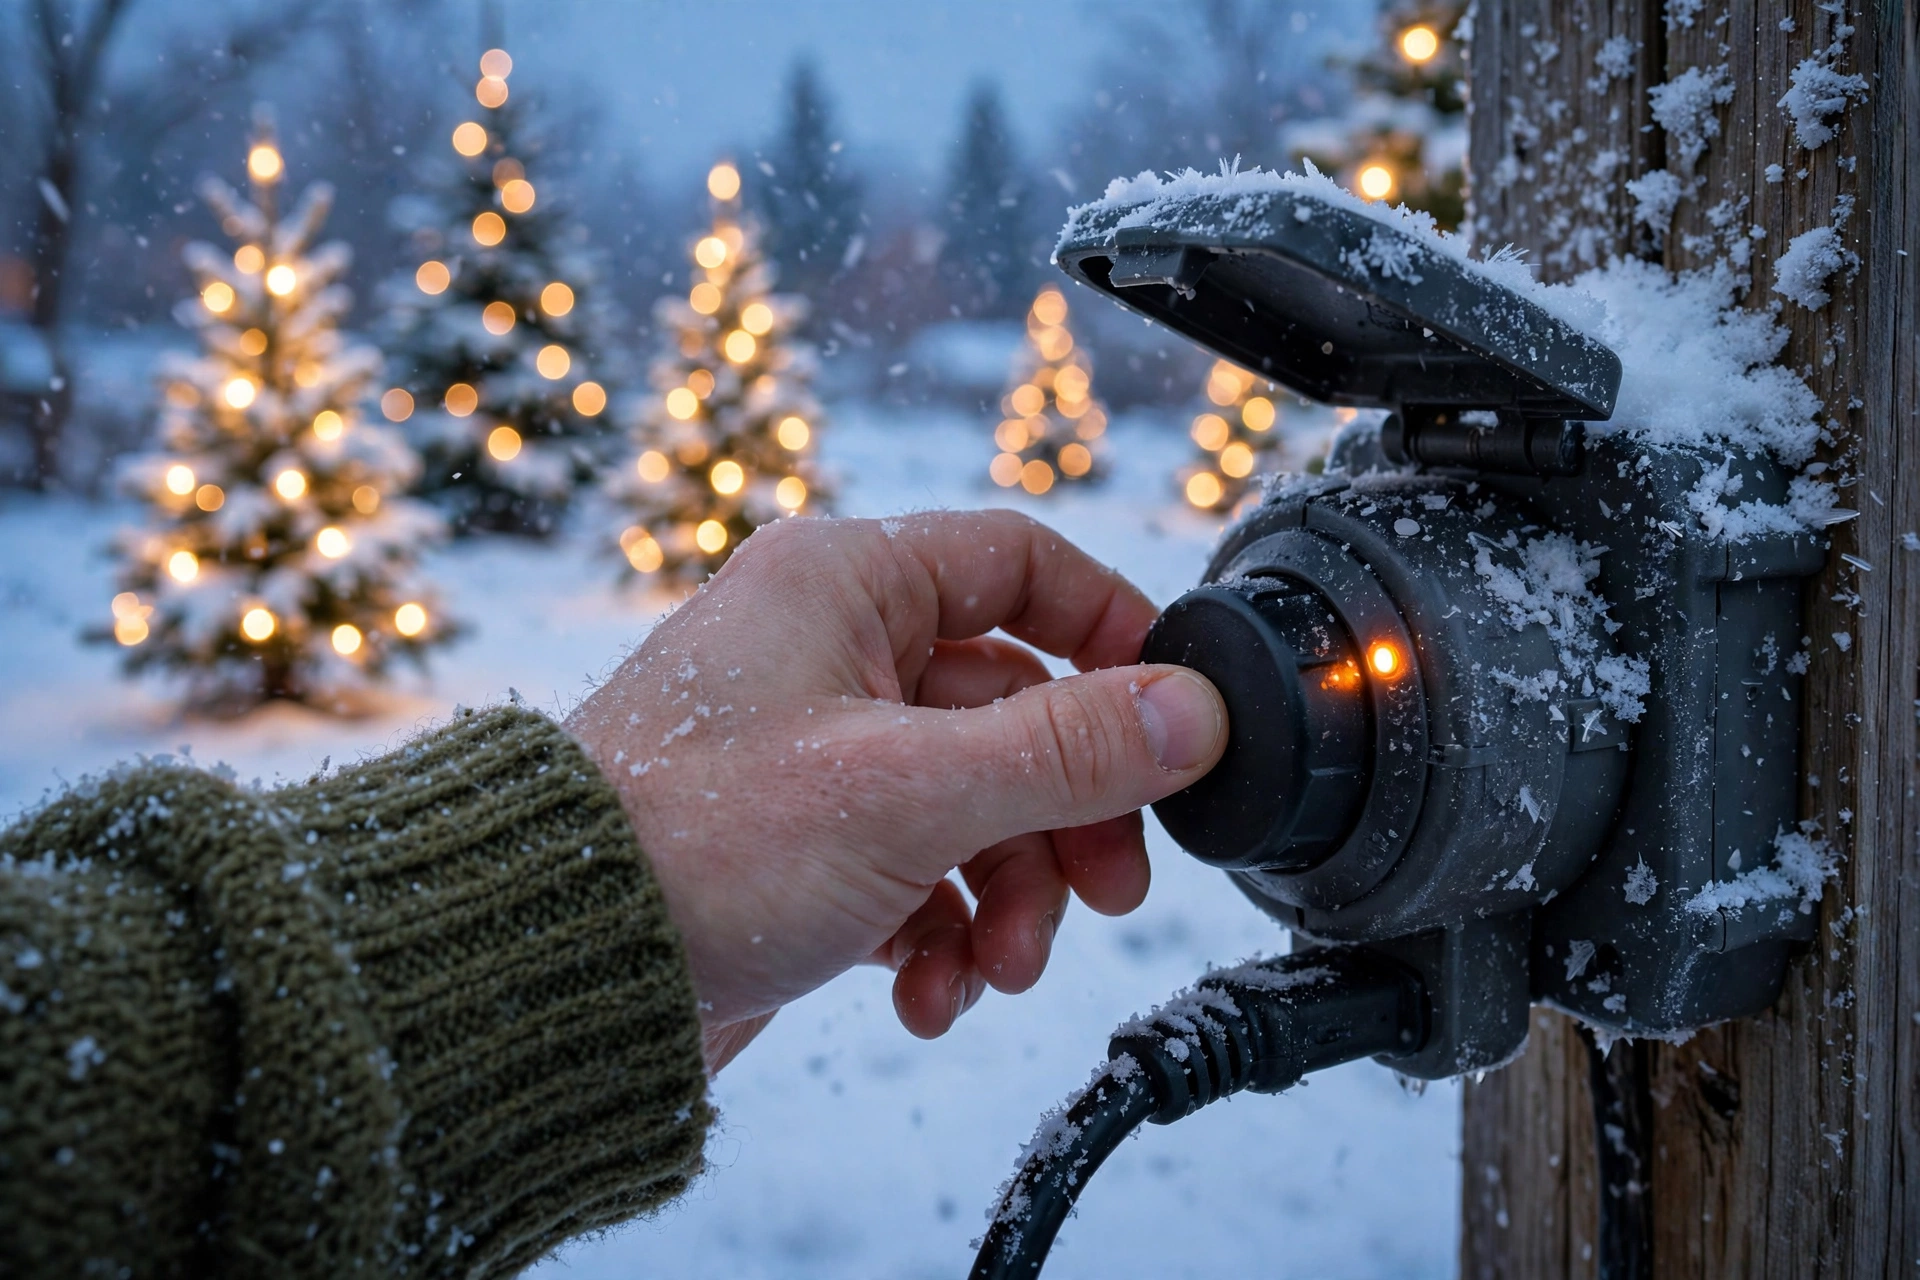
19. Timers That Switch Lights on at Dusk
Timers take the daily work out of a glowing pathway, switching every tree on at dusk without anyone remembering. Use a photocell timer that senses darkness, set to run for six hours, which covers the evening without wasting electricity all night.
Plug the timer into a weatherproof outdoor outlet box, and test it for one evening before the holidays so any faulty strand is found early. Avoid indoor timers outdoors, since moisture can damage them and trip the whole display.
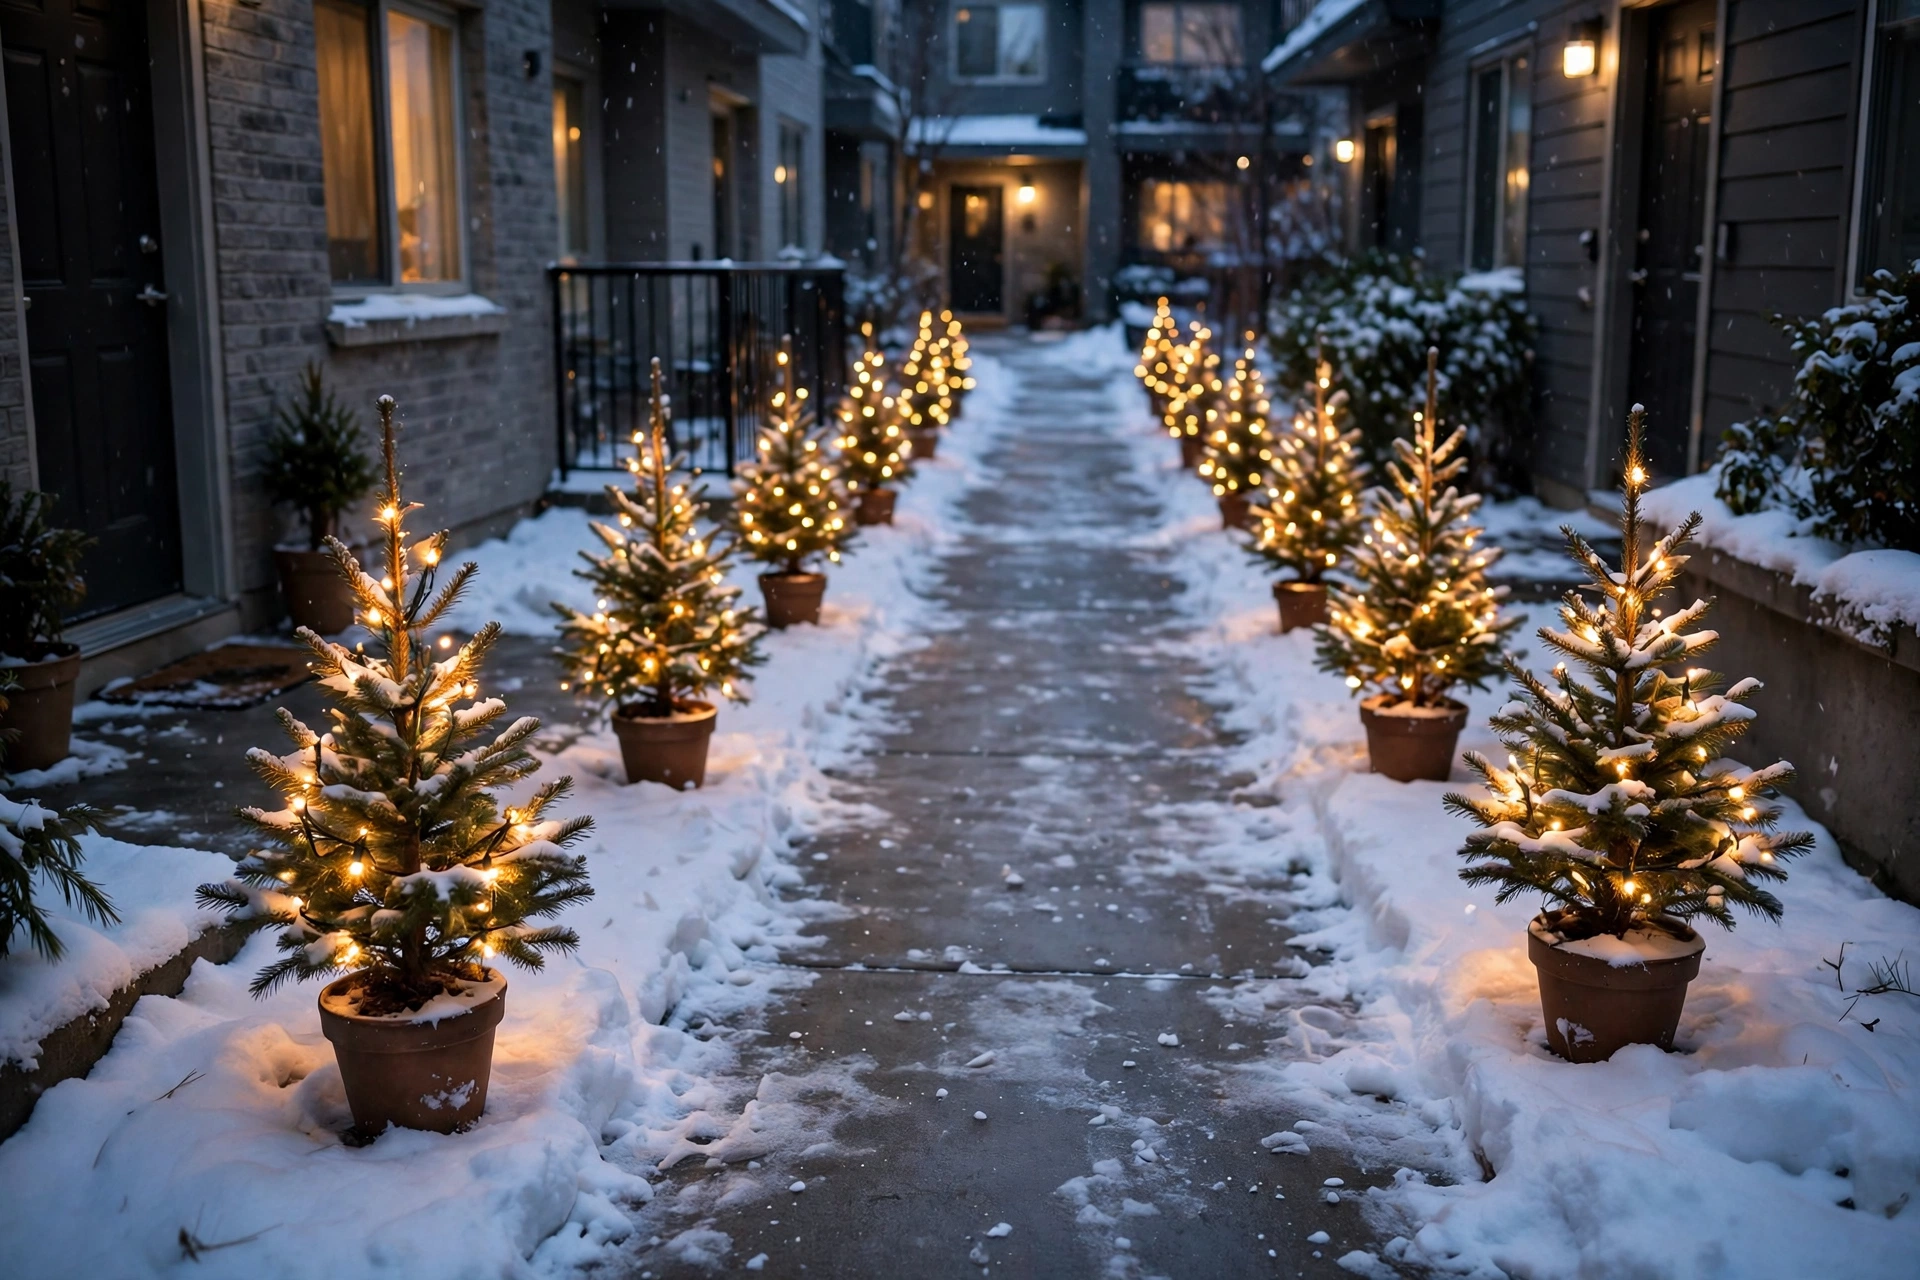
20. Potted Mini Trees for a Snowy Christmas Pathway with Illuminated Trees
Potted mini trees are perfect for renters and small porches, giving the illuminated-tree look without planting anything. Choose dwarf spruces about three feet tall in twelve-inch pots, and wrap each in a 70-light strand, placing them every three feet along the path.
Water the pots before the first hard frost, then mulch the soil surface with two inches of bark so roots stay insulated. After Christmas, keep the mini trees in a sheltered spot, and many will survive to glow again next year.
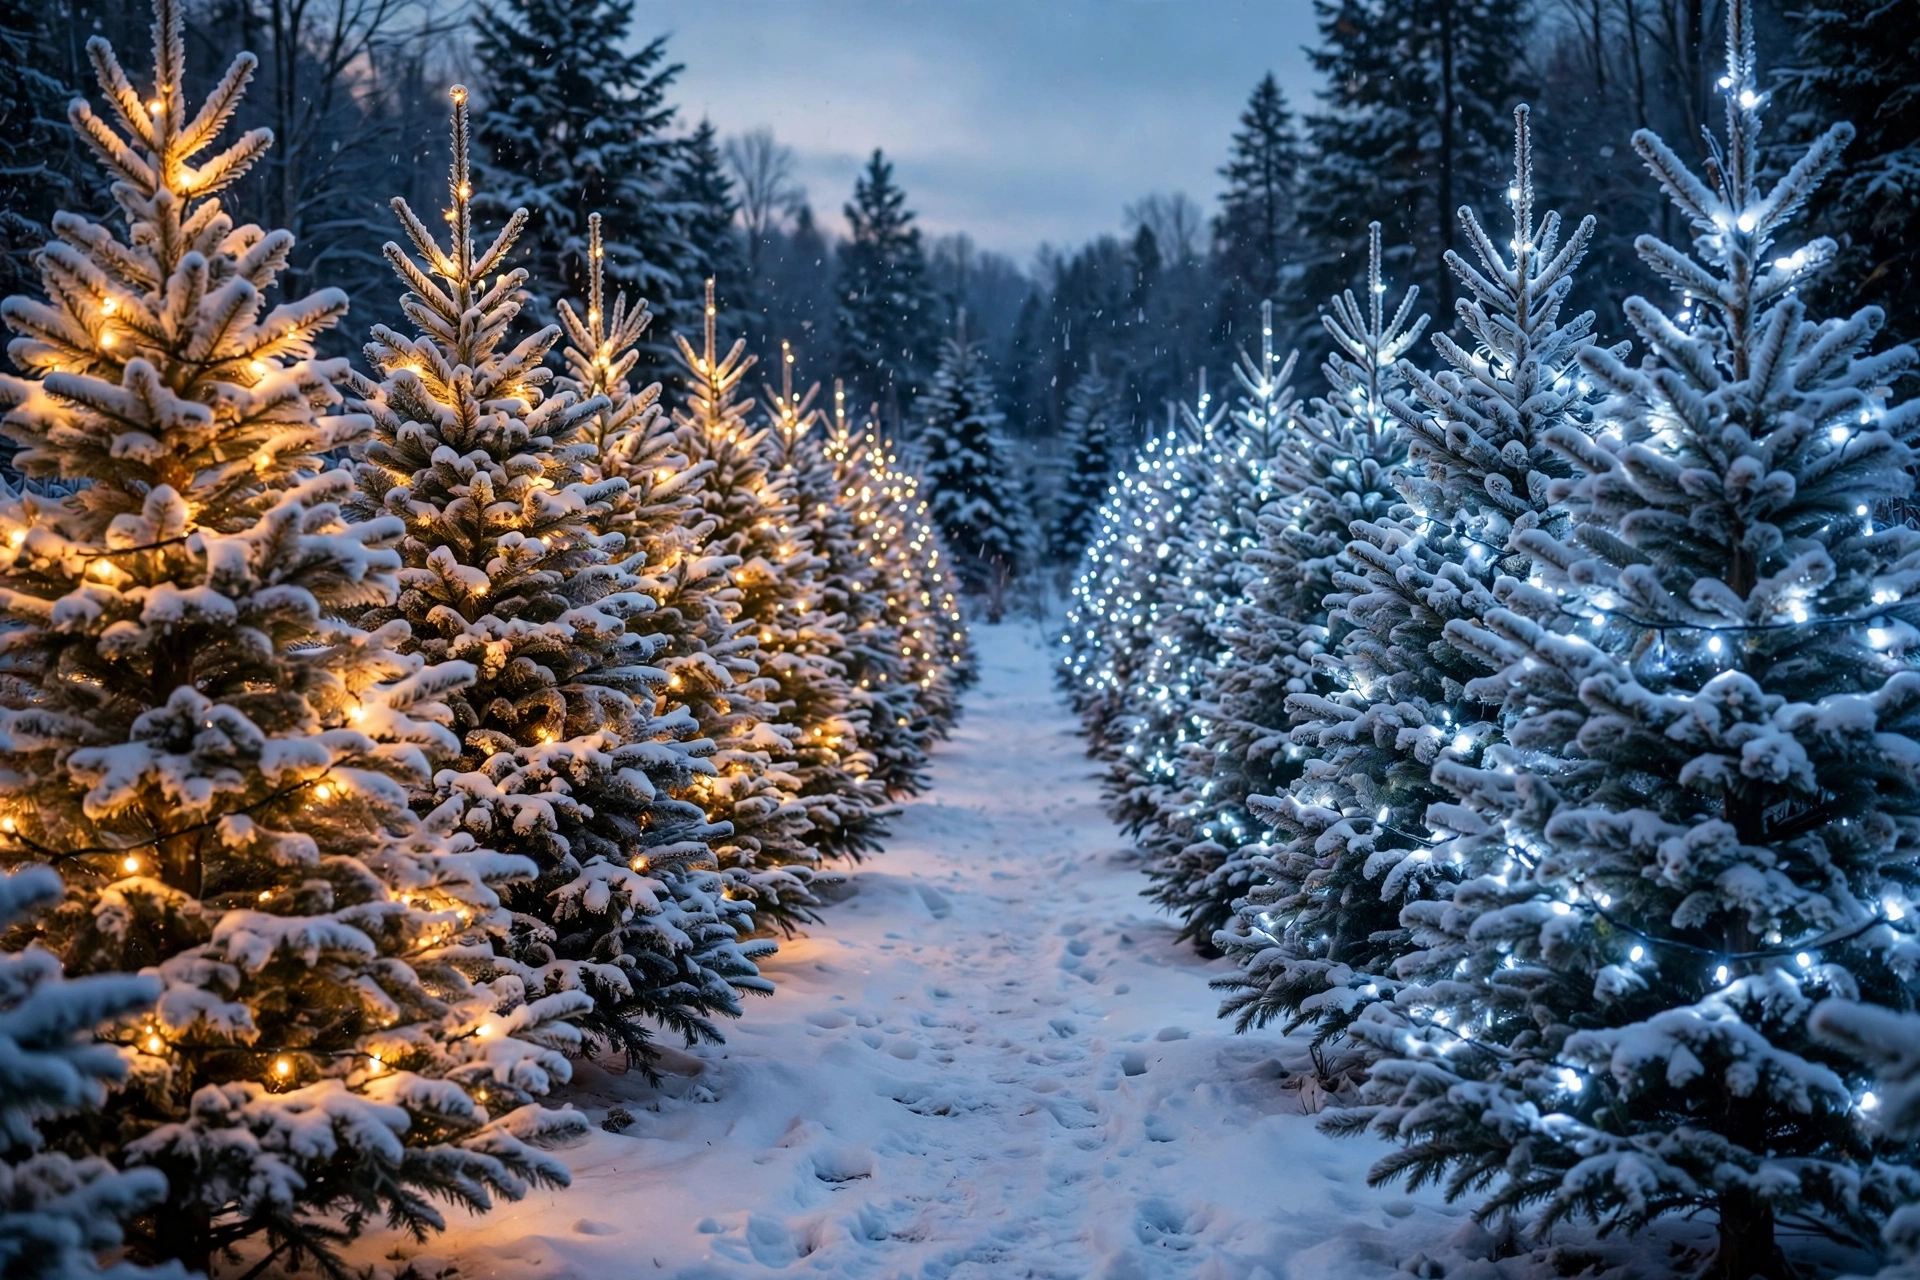
21. Warm White Versus Cool White Glow
The choice between warm and cool white changes the whole mood of a snowy pathway. Warm white at 2700K feels cozy and golden, flattering wooden doors and brick, while cool white at 5000K looks icy and crisp against fresh snow and modern homes.
Never mix the two along one pathway, since the clash looks accidental rather than designed. Test both colours on one tree at dusk before buying for the whole path, and pick the one that suits your home’s exterior best.
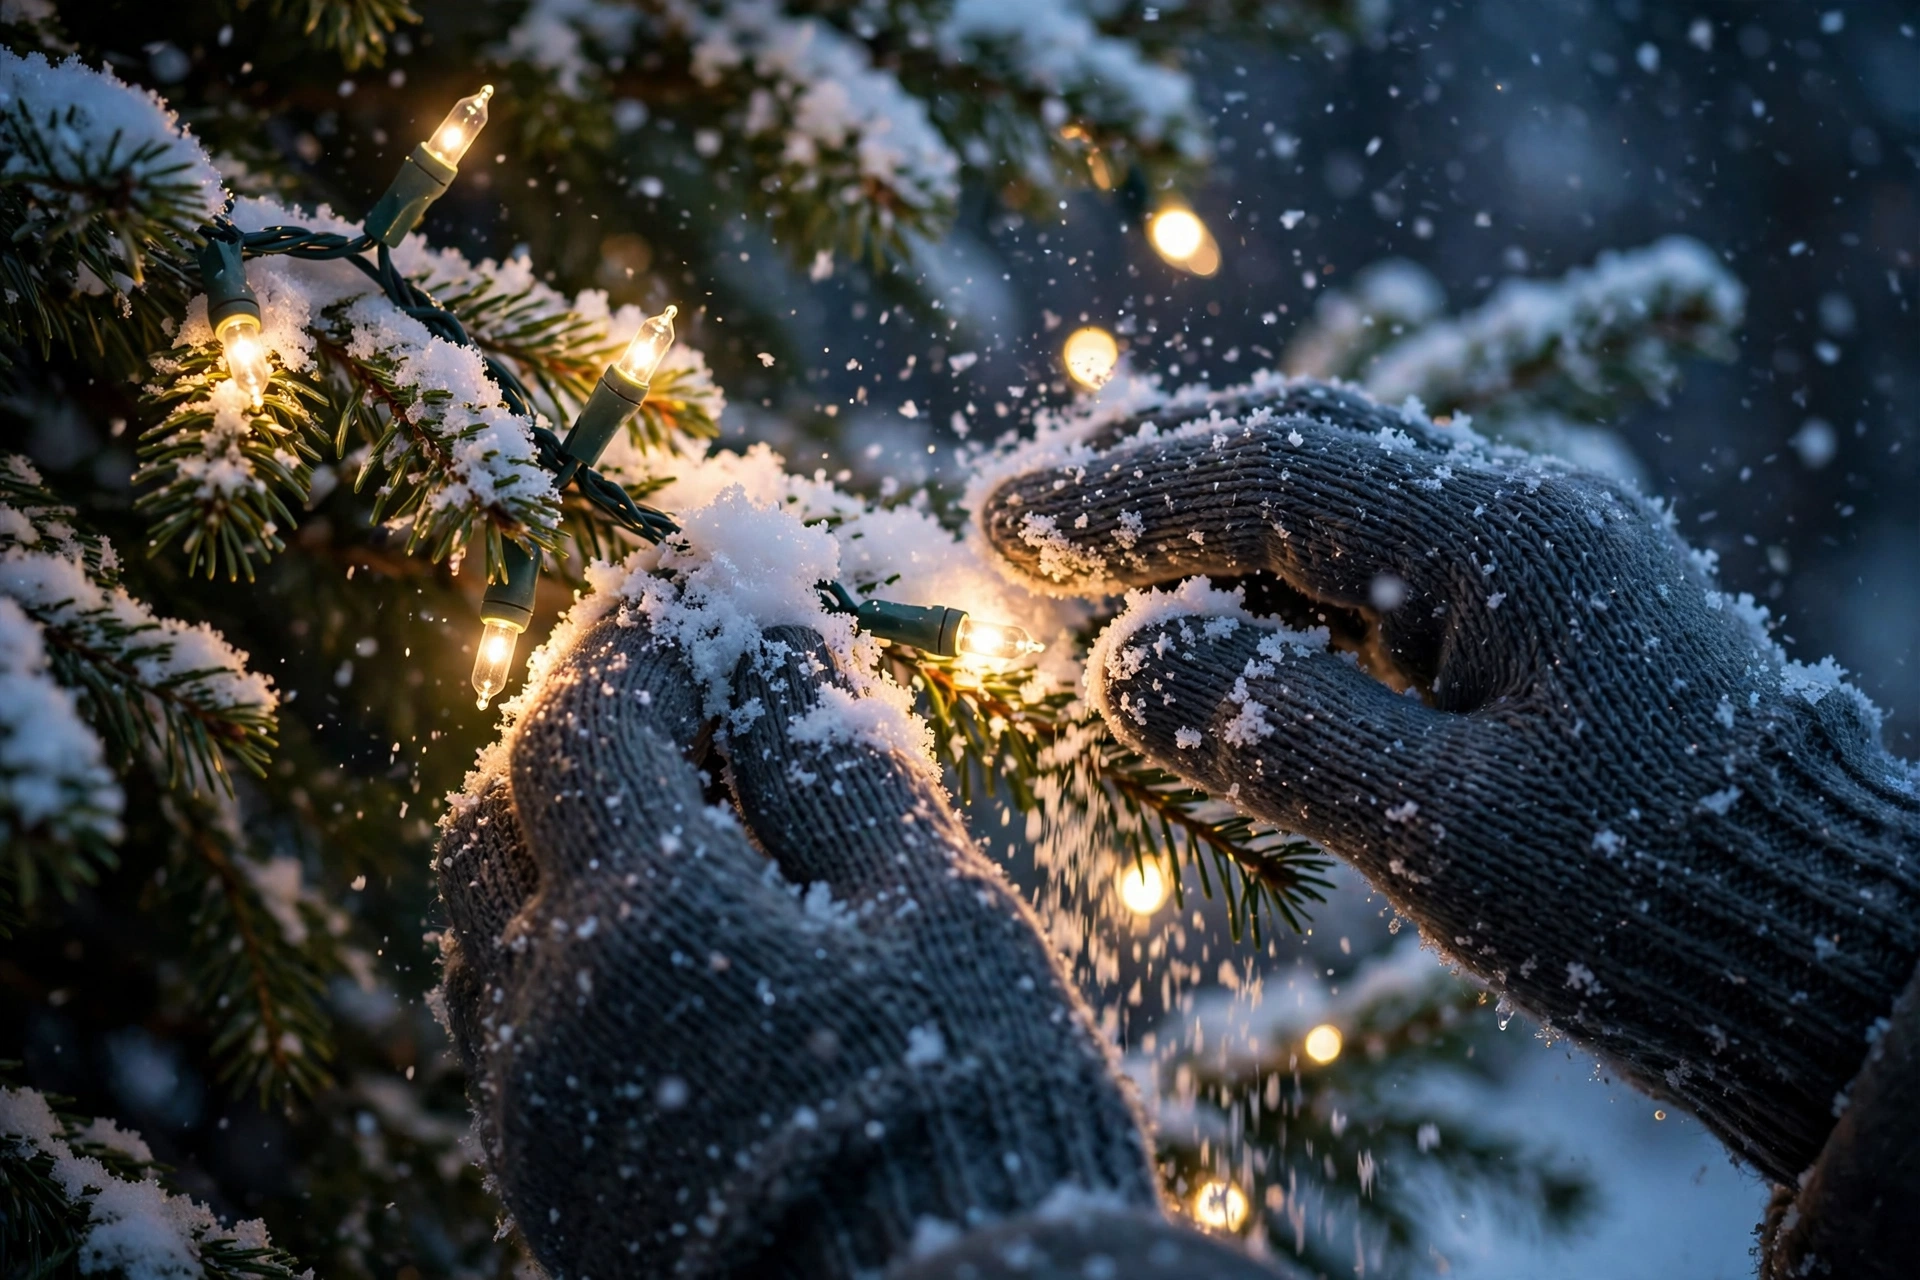
22. Keeping Lights Safe in Heavy Snow
Heavy snow is the biggest threat to pathway lights, but a few habits keep them shining all season. Brush snow off light strands gently with a soft broom after each fall, and never yank a frozen strand, since cold wires snap easily.
Check every connection after a storm, drying plugs before reconnecting them, and keep spare fuses for each strand type in a labelled box by the door. A five-minute check after snow saves hours of untangling dead strands later.
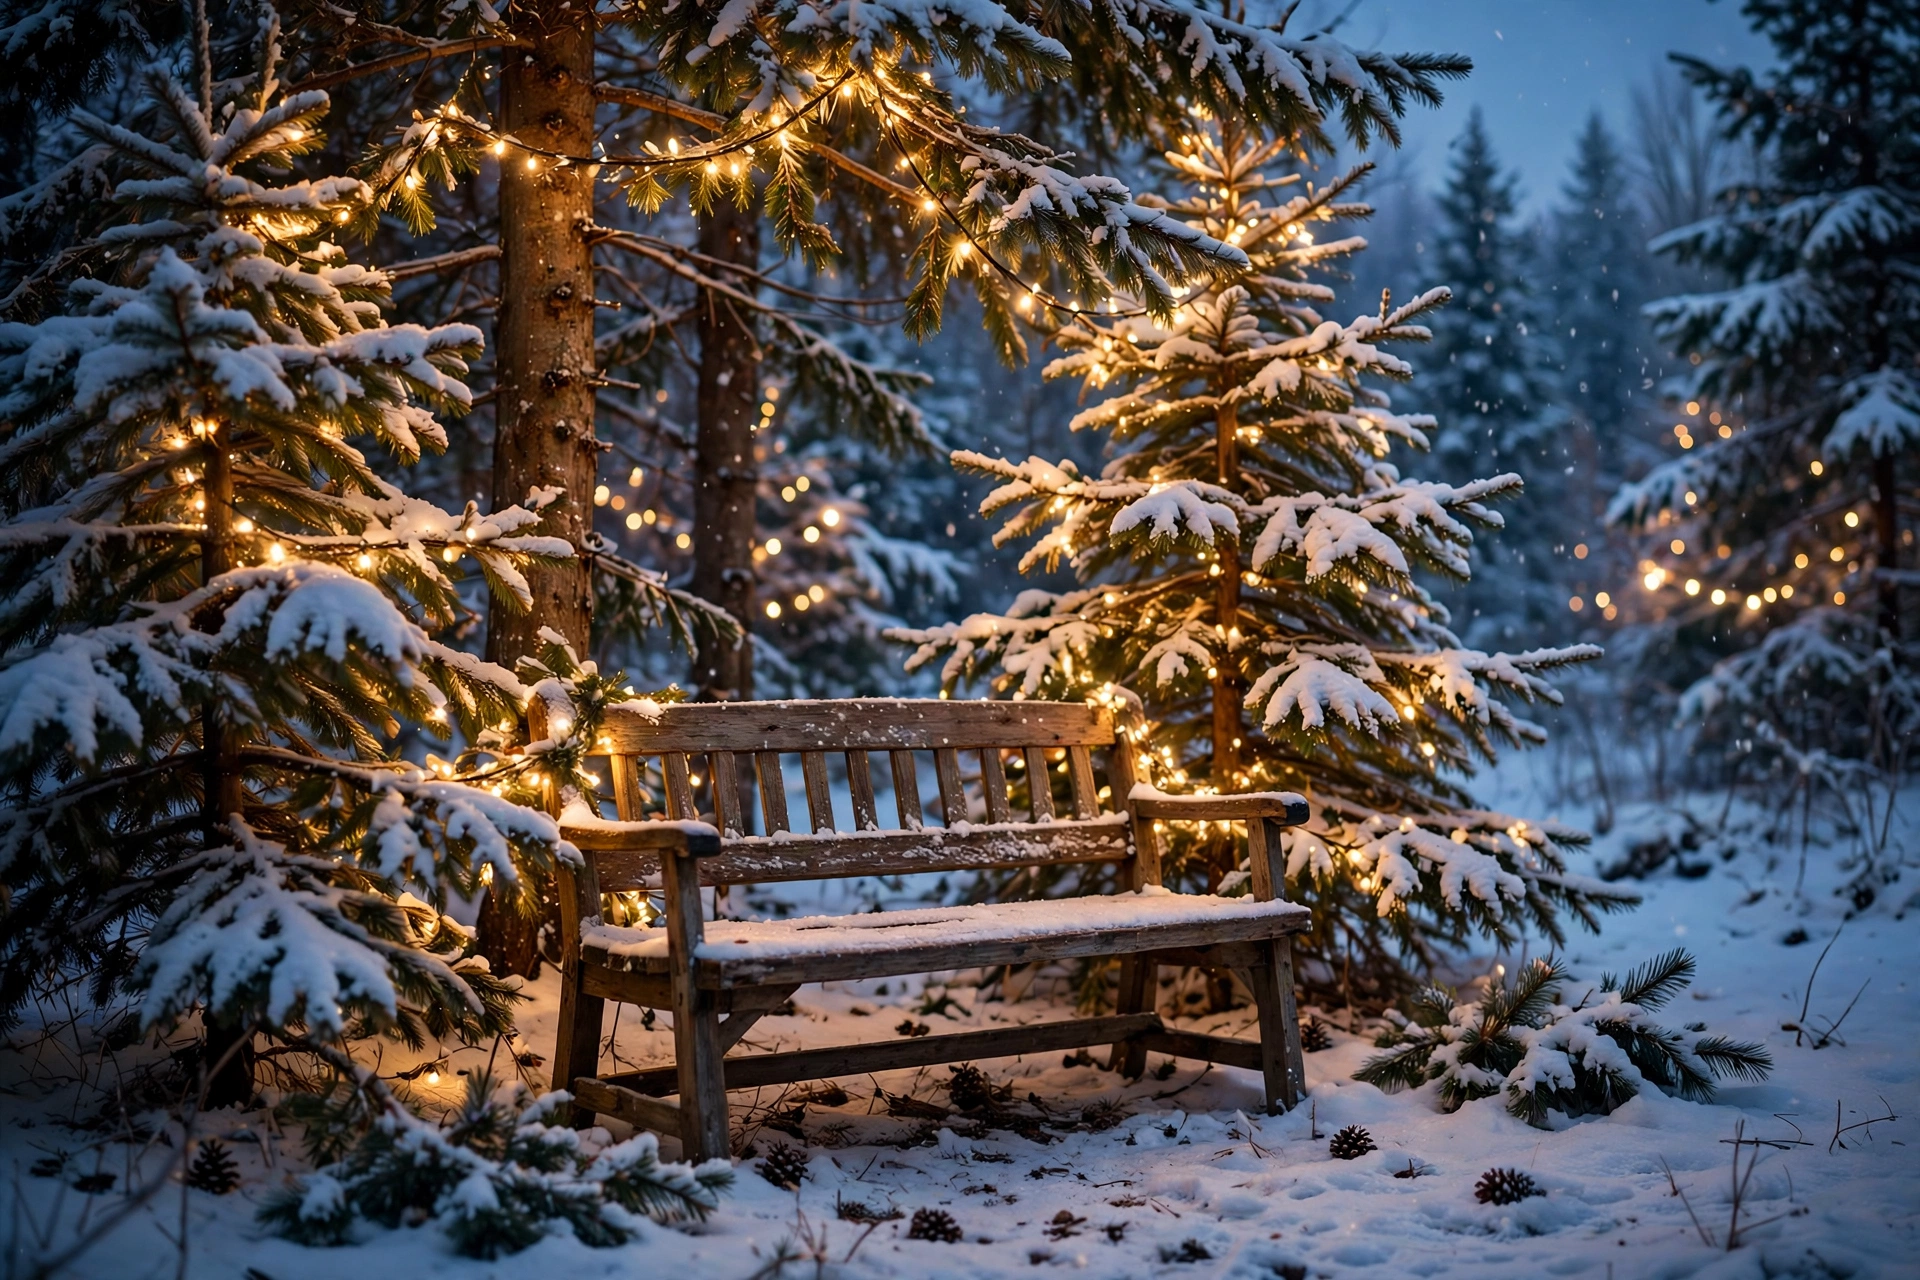
23. A Family Photo Spot Beneath the Trees
A family photo spot beneath the trees turns the pathway into a Christmas memory, not just a decoration. Pick the widest, brightest bend in the path, and place a wooden bench about five feet long beneath two overhanging lit branches for a natural frame.
Angle the bench so the glowing trees sit behind the sitters, and set the camera timer to capture the lights without flash, which washes out the glow. Clear a flat, snow-free patch for the tripod, and the photos will look professionally lit.
24. After the Holidays: Storing Tree Lights
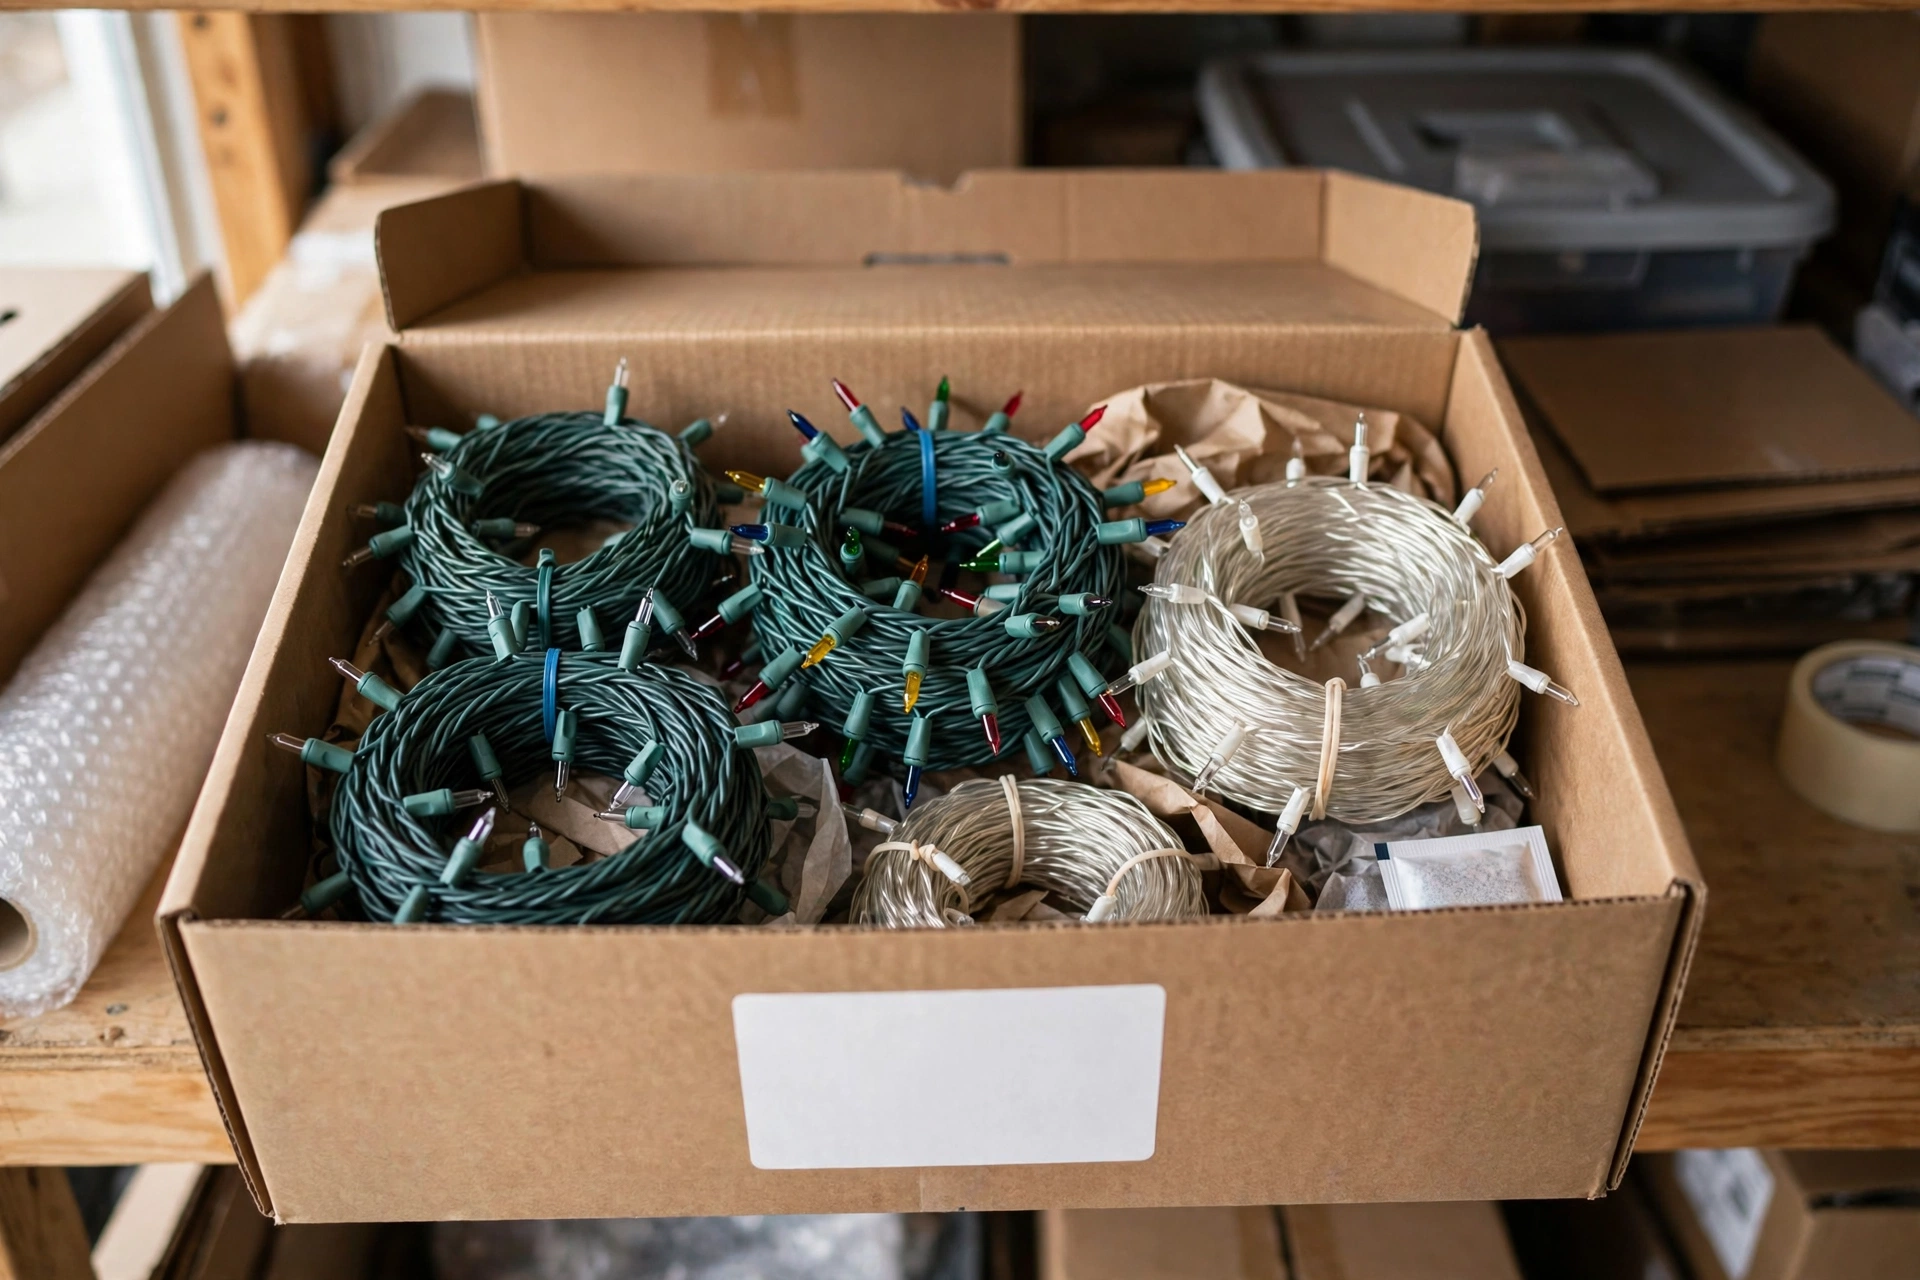
Storing tree lights properly means next December starts with working strands instead of a tangled mess. Wind each strand around a flat piece of cardboard about twelve inches wide, label it with its length and colour, and store it in a sealed plastic bin indoors.
Test every strand before storing it, and throw away any with cracked insulation, since damaged wires are a fire risk next year. Keep the bins in a dry place, not a damp garage, so connectors stay rust-free.
25. Finishing Touches for a Snowy Christmas Pathway with Illuminated Trees
The finishing touches are small but decisive: a coir doormat at least three feet wide, matching lanterns, and one sculptural planter by the door. Walk the path as a guest would at dusk, and remove anything that feels busy or unfinished.
These snowy christmas pathway with illuminated trees ideas work best when layered slowly, starting with the entrance trees, then adding path lighting, and finally the small details. With patience and care, your pathway will glow beautifully every winter evening.



One Comment